How can we help?
Video Tutorials
Product Manuals
Contact Support
* Needing to talk on the phone is sometimes necessary, but we would appreciate you allowing us the opportunity to help you via email and chat first. This allows us to use screenshots, videos, and numbered steps to get your issue resolved. If you need to speak to one of our agents, you may do so by clicking here to schedule a call. Thank you for choosing Renewed Vision products, and for allowing us the opportunity to serve you!
Promoted articles
- ProPresenter Output Layers
- ProPresenter+: What is it and how do I renew it?
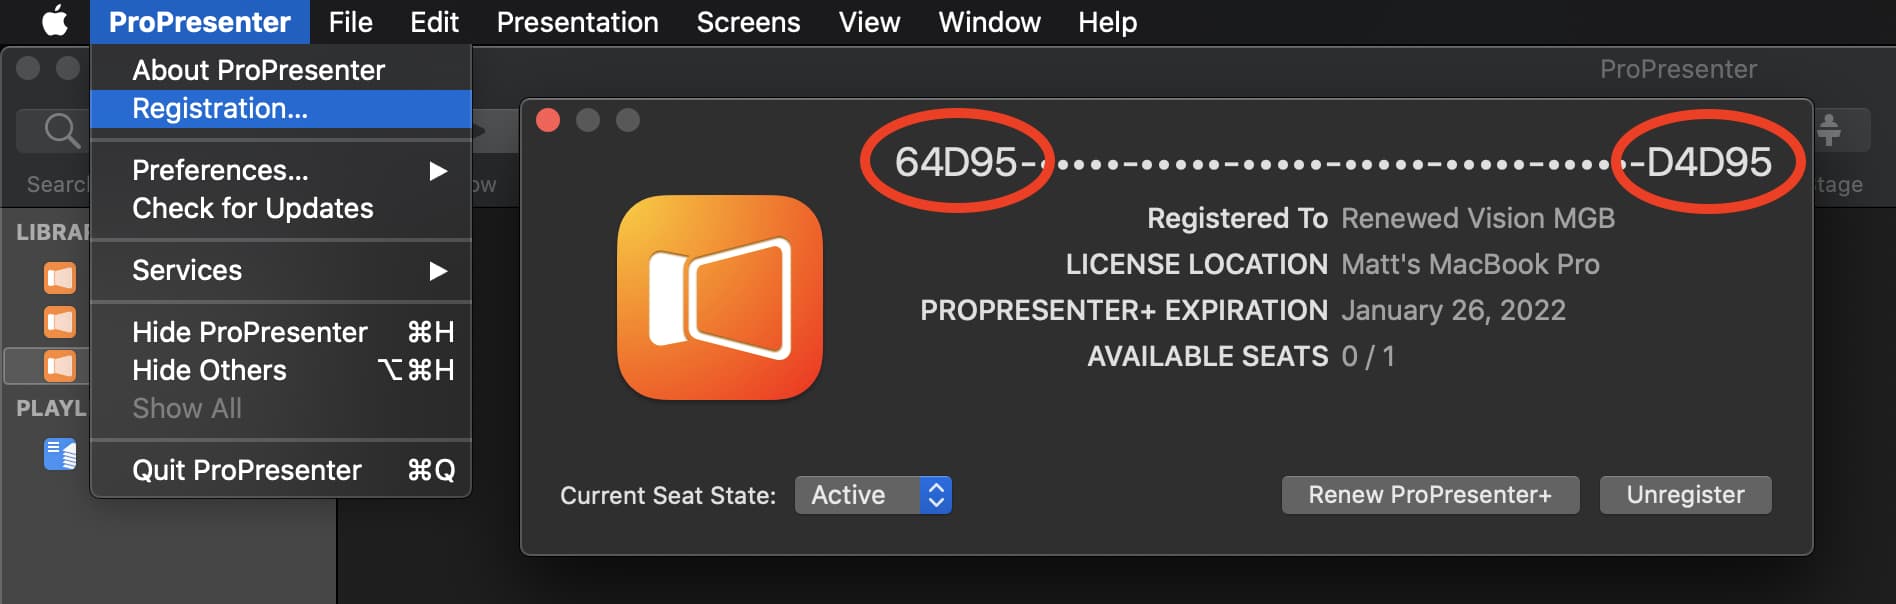
- Registering ProPresenter 7 / Moving a seat from one computer to another
- Migrating ProPresenter Data to a New Machine
- macOS Sonoma Compatibility
- Using ProContent Inside of ProPresenter
- ProPresenter6 End of Life Frequently Asked Questions