ProRemote for iOS can connect to ProPresenter 4 and newer over wifi. ProRemote for Android only works with ProPresenter 6. Typically ProRemote discovers and communicates with your computer over Bonjour, but there are some technical limitations to this connection. This article will cover the standard connection first, then go over the Manual Connection option. Once connected, both methods work the same. Screenshots are all from ProPresenter 6, but differences in ProPresenter 4 and ProPresenter 5 will be explained as needed.
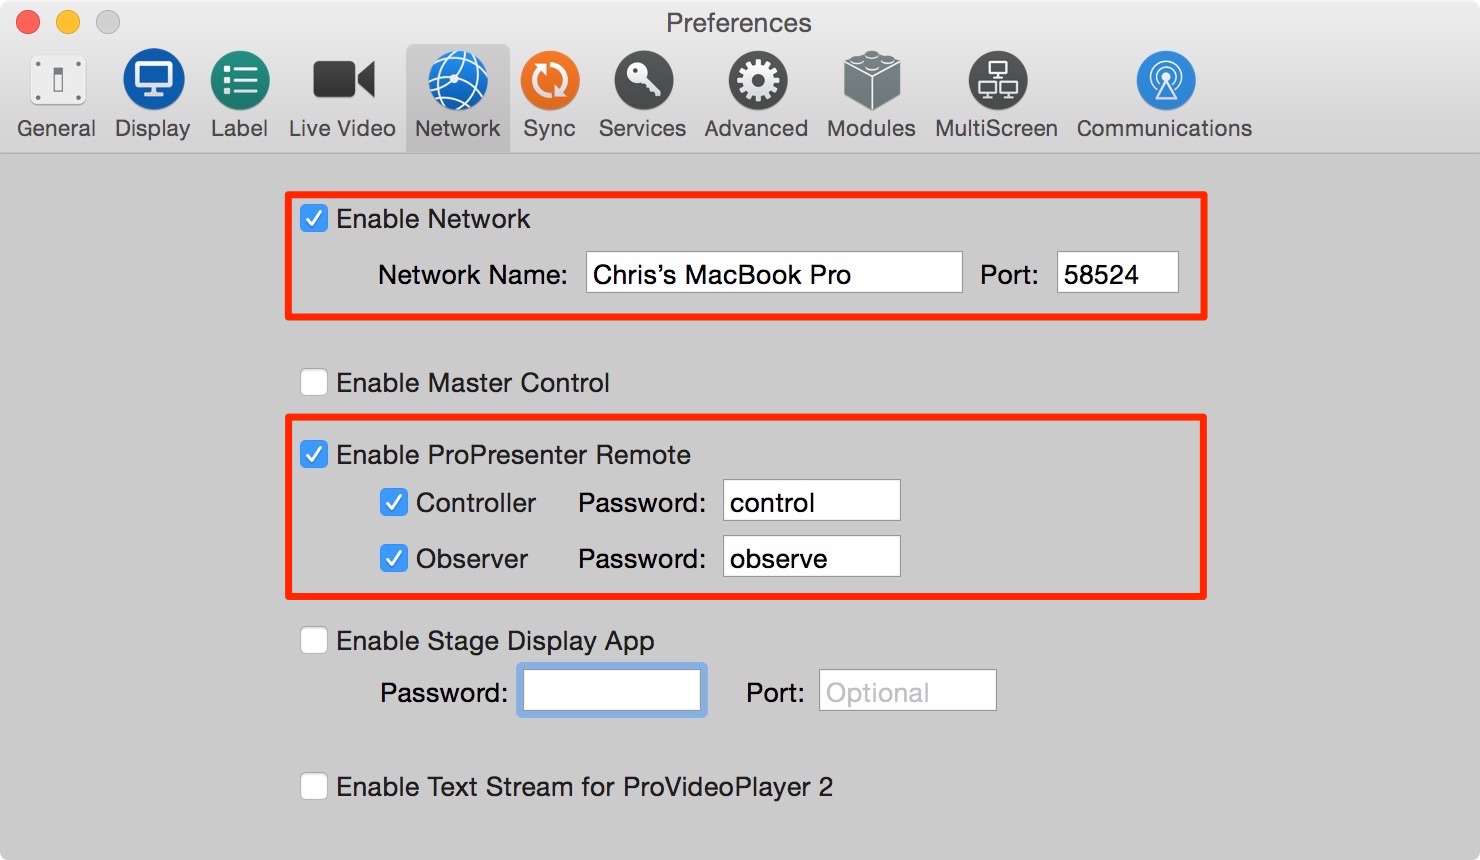
Before you can connect ProRemote, you need to enable the connection in ProPresenter. Open Preferences and go to the Network settings. In ProPresenter 6 you need to check the "Enable Network" option. The Network Name and Port should be filled in automatically. There is no reason to change these unless you have been instructed to do so by our support team. This settings does not exist in ProPresenter 4 and ProPresenter 5. You will then need to check the option for "Enable ProPresenter Remote" and the connection you want to make. This settings exists in each version, but is called "ProPresenter Remote Server" in earlier versions.
"Controller" gives you or the person connected the ability to control ProPresenter from their iOS or Android device. "Observer" allows the person to see what's currently happening. They can explore the app and select documents and playlists, but cannot cause anything to change in ProPresenter. The password can be anything you want to use.
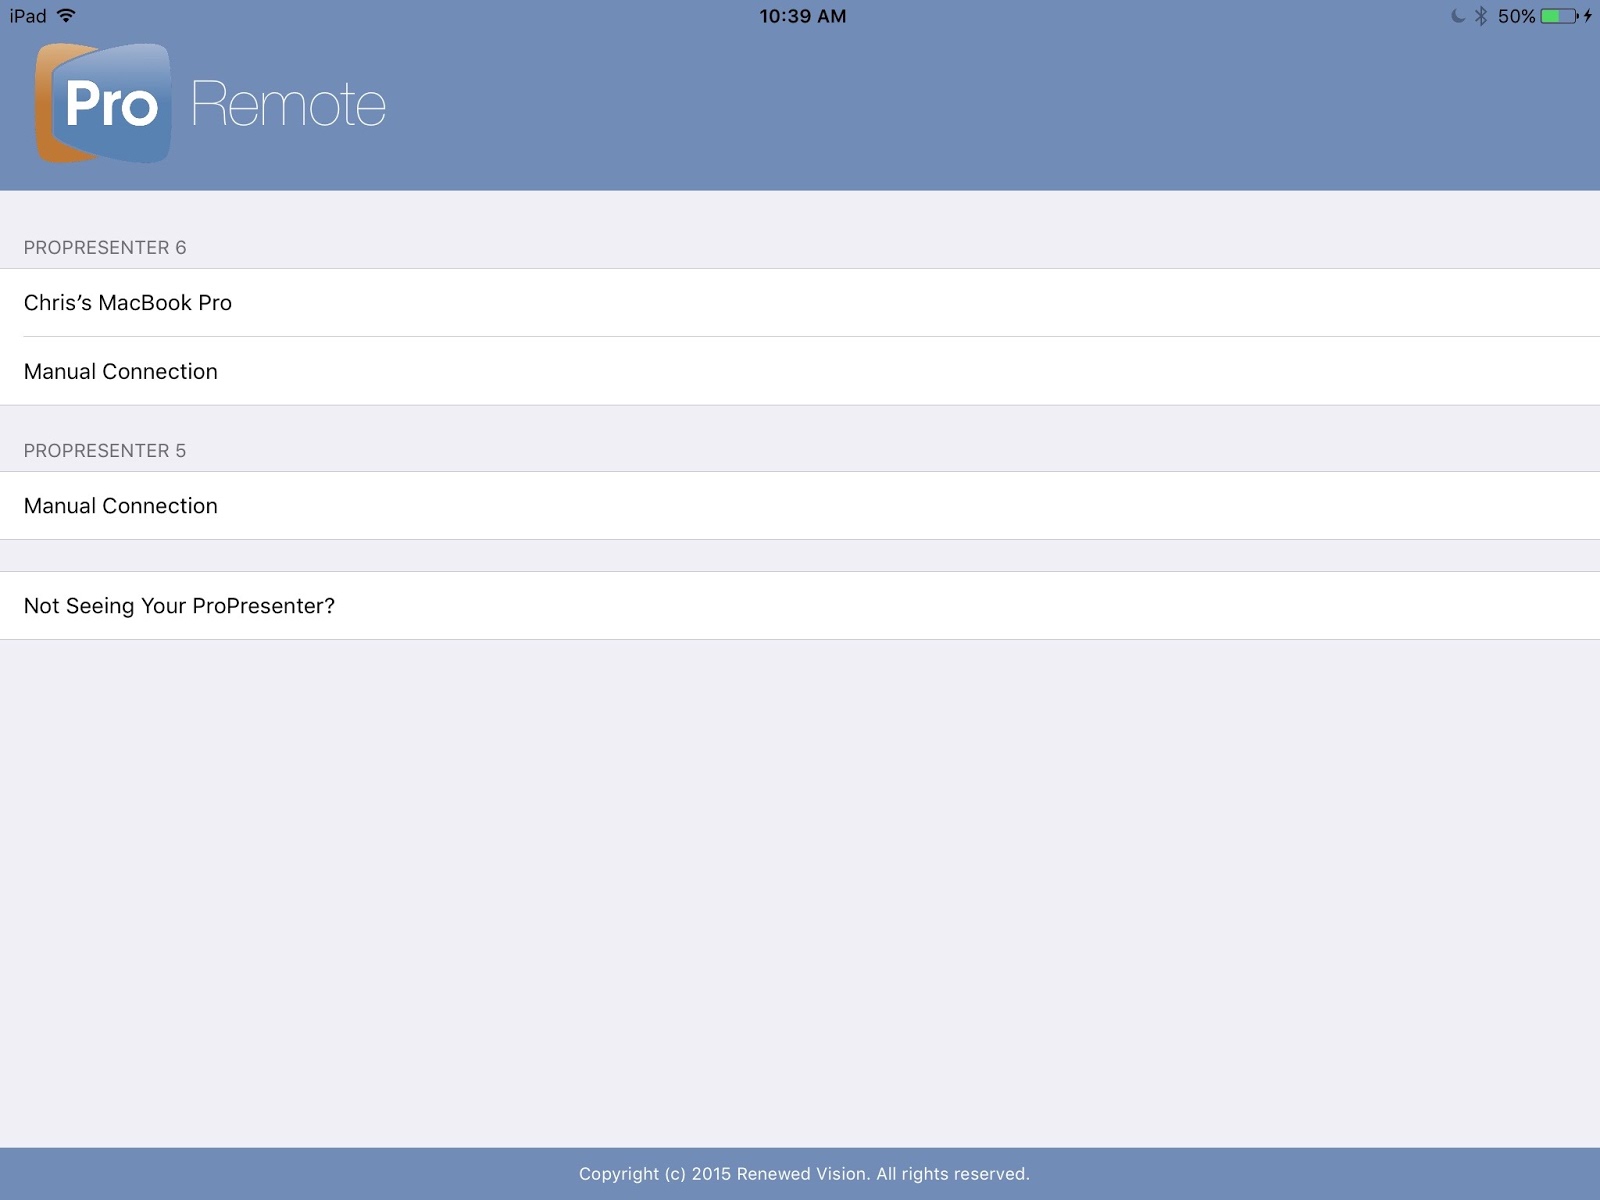
Now that you have enabled the remote settings in ProPresenter you can connect the app. Your computer and wireless device need to be on the same network in order to work. Open ProRemote on your device and select the computer you want to connect to. If you have multiple computers or other versions of ProPresenter running, you will see additional options listed. Select the one you want to connect to. When you select a computer you will be prompted to enter a password to connect. This is password you set in ProPresenter's Preferences. Enter the same password and press OK.
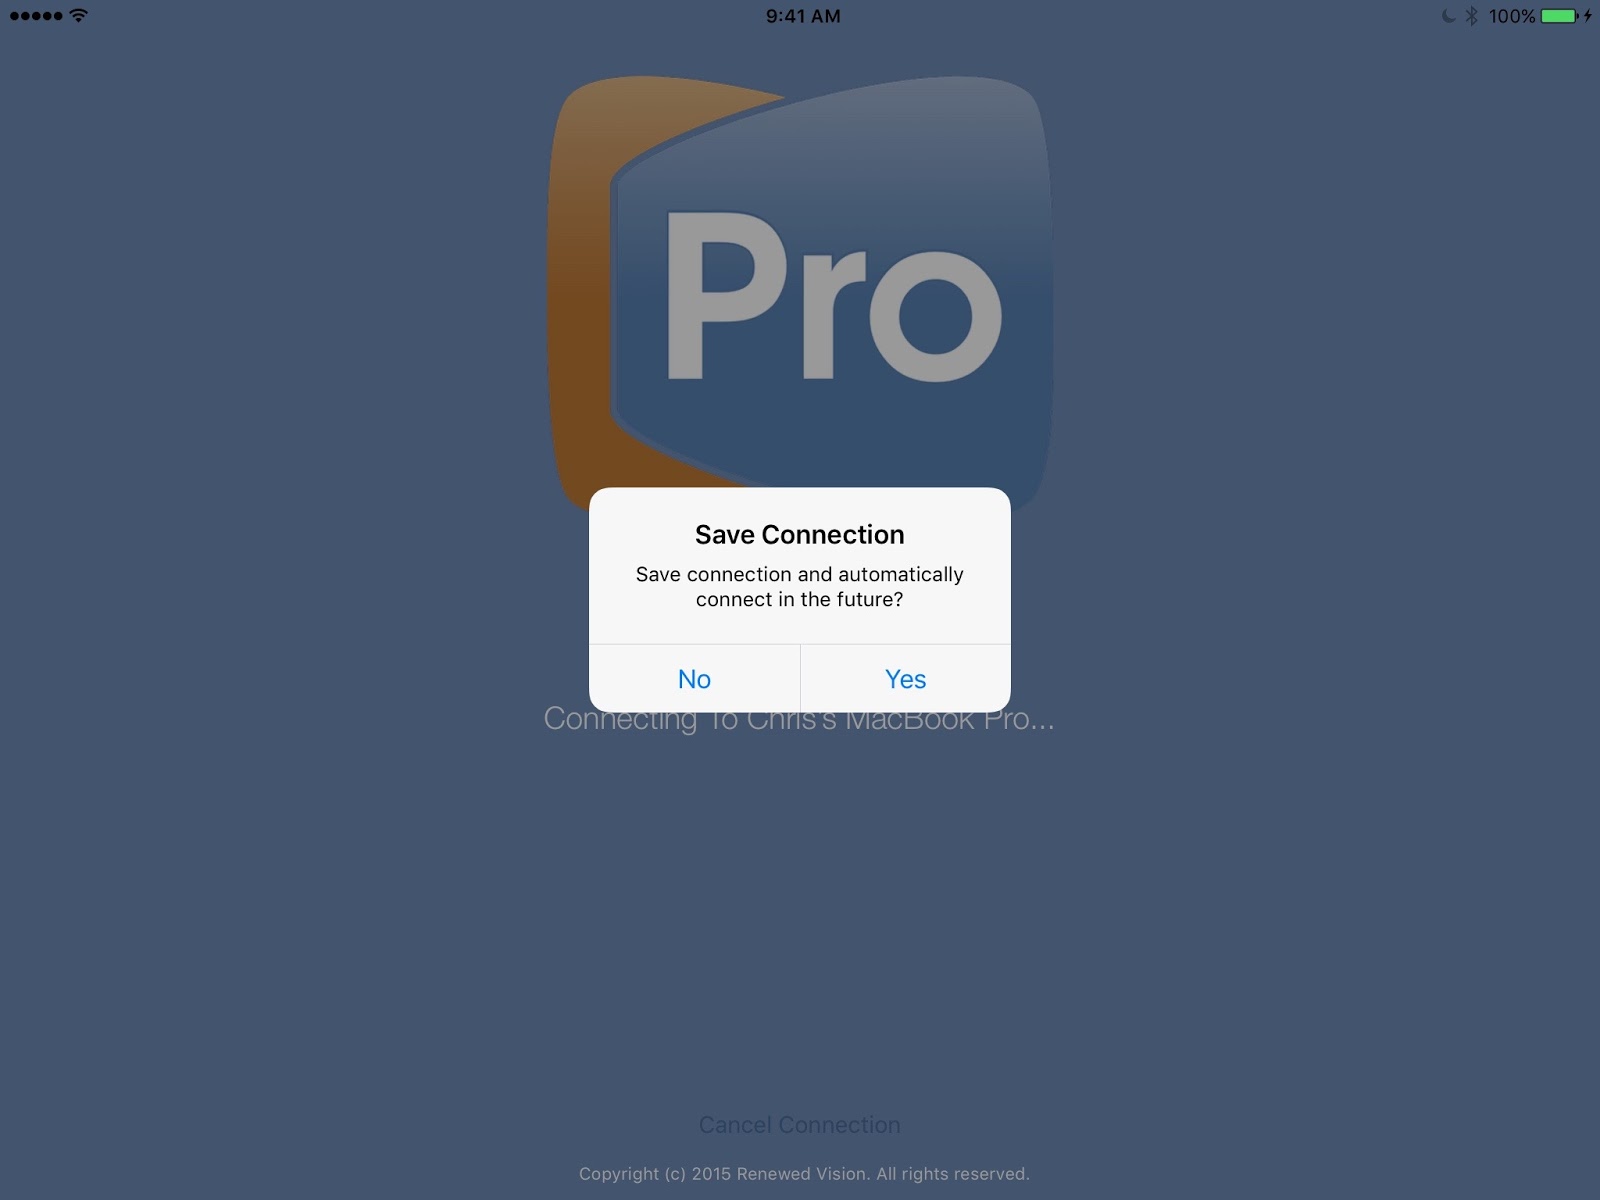
After entering your password, you will be asked if you want to save the connection. This option allows ProRemote to automatically reconnect to the last computer it was used with when it is opened. If you use ProRemote with multiple computers or you want to prevent others from connecting to ProPresenter from the same device without knowing the password, select "No".
If your computer is not listed on the login screen, but you know that both the computer and your device are on the same network, you can try the Manual Connection option. The reason you may need to use Manual Connection is if your devices are on different subnets or your network administrator has put some restrictions on your network and Bonjour isn't able to locate your computer and determine the port and IP address automatically. In this case, you can try to manually establish the connection by telling ProRemote where to find your computer on the network.
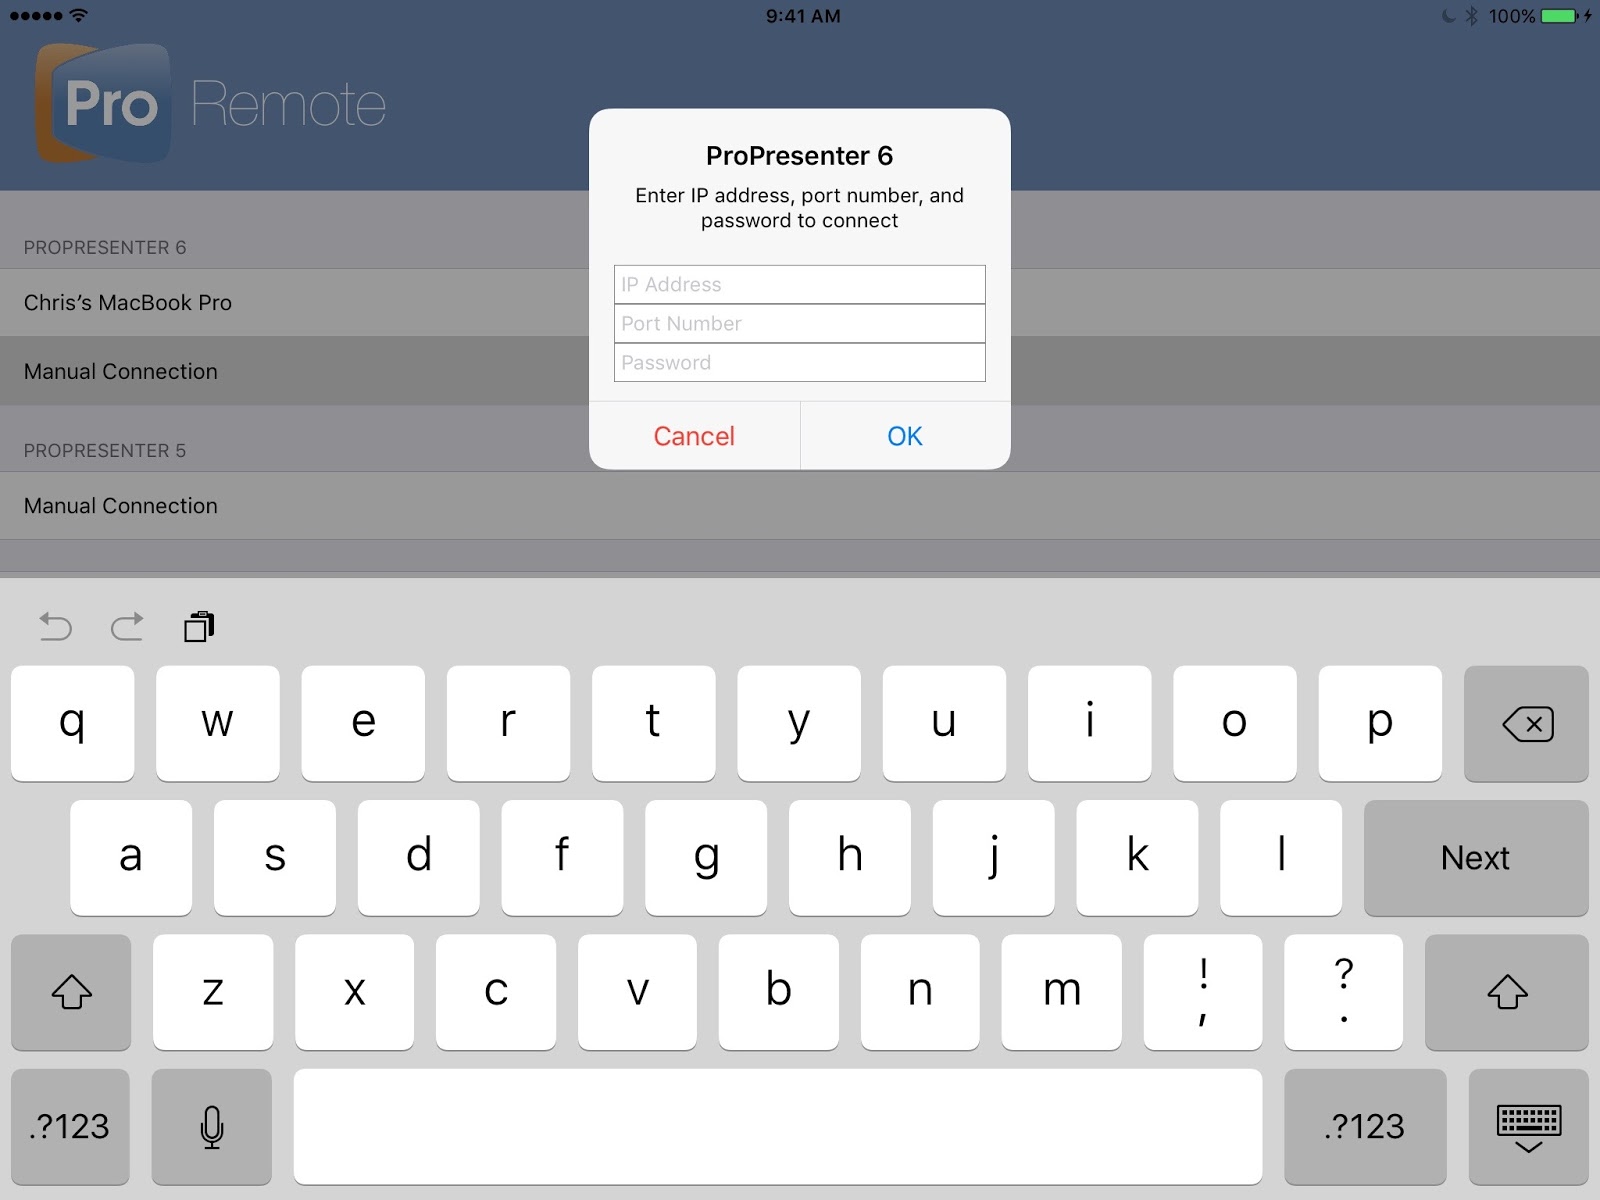
You will need to know the IP Address of your computer, and the Port Number and Password from ProPresenter.
To find your IP Address on a Mac, open System Preferences and click on Network. Your active connection should already be selected. Under "Status: Connected" on the right you will see an IP address. This is the number you will use for the IP Address for the Manual Connection.
To find your IP Address in Windows, open Network Connections by clicking the Start button, and then clicking Control Panel. In the search box, type "adapter", and then, under Network and Sharing Center, click View network connections. Select an active network connection, and then, in the toolbar, click View status of this connection. (You might need to click the chevron to find this command. Click Details. Your computer's IP address appears in the Value column, next to IPv4 Address. Use this address for the IP Address in ProRemote.
Open ProPresenter's Network settings to locate the Port number. It should be filled in automatically. Enter that number in ProRemote. The Password is what you have set for the Remote connection.
Once you enter these three items, click OK and you should be able to connect to ProPresenter.