The Edge Blending Module requires a Matrox DualHead2Go or TripleHead2Go to work.
The first step in setting up this device is to install the Matrox Drivers. Visit the Matrox Support Website and look for the Graphics Drivers webpage. Select the device that you have purchased and are ready to install. You can now select Next. Make sure that the Softwares and Utilities box is checked, and then select Next. Select the OS that your machine is running. You can find this by selecting the Apple ()on your Menu bar, and then About This Mac. You can now select Next. On the next screen, you will select the option that the description states "PowerDesk software suite for Mac". In the next screen, you will need to agree to the Matrox Notice and select Download Now.
Open the Download and follow the installation instructions. Once the driver is installed, you can connect your Matrox device with the Display adapter and the USB data cable.
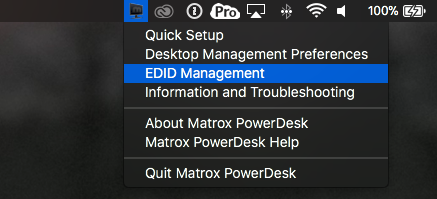
Once this device is connected select the Matrox icon from the Menu bar and select EDID Management.
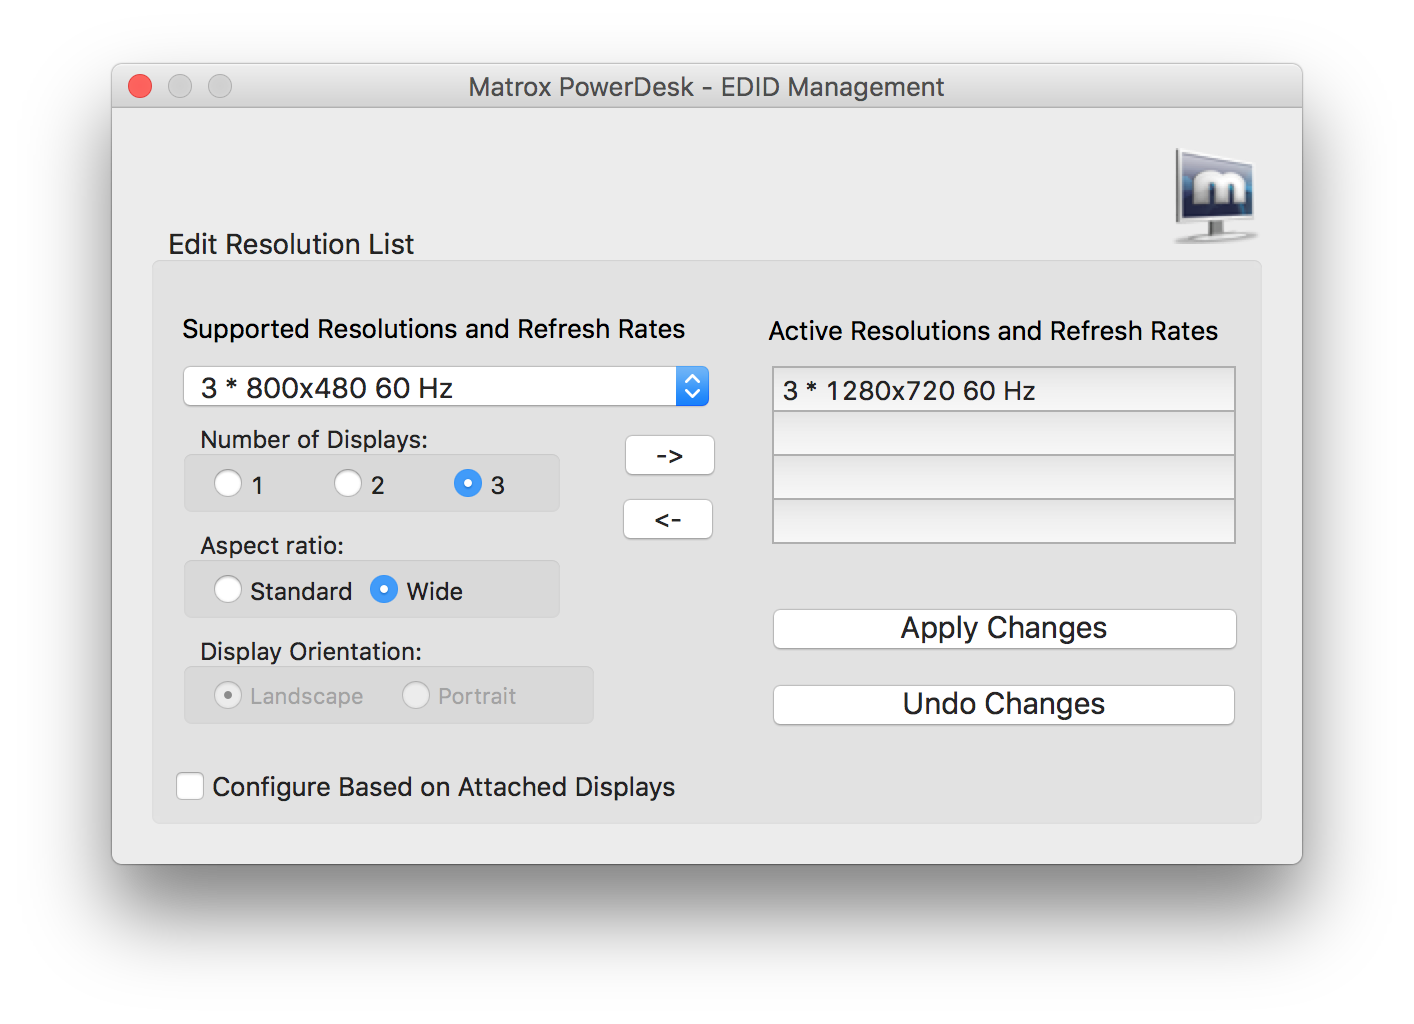
Inside of the EDID Management interface, you will need to remove all items from the "Active Resolutions and Refresh Rates" section by selecting the items within the list and selecting the arrow pointing away from this list. Once there aren't any items in the "Active Resolutions and Refresh Rates" list, you can now select the resolution and refresh rate in the "Supported Resolutions and Refresh Rates" that you need for your setup. This is determined by the projectors that you have in your setup. (Note: You can display up to three projectors at 720p 60Hz (US standard) as a max from the Matrox device.)
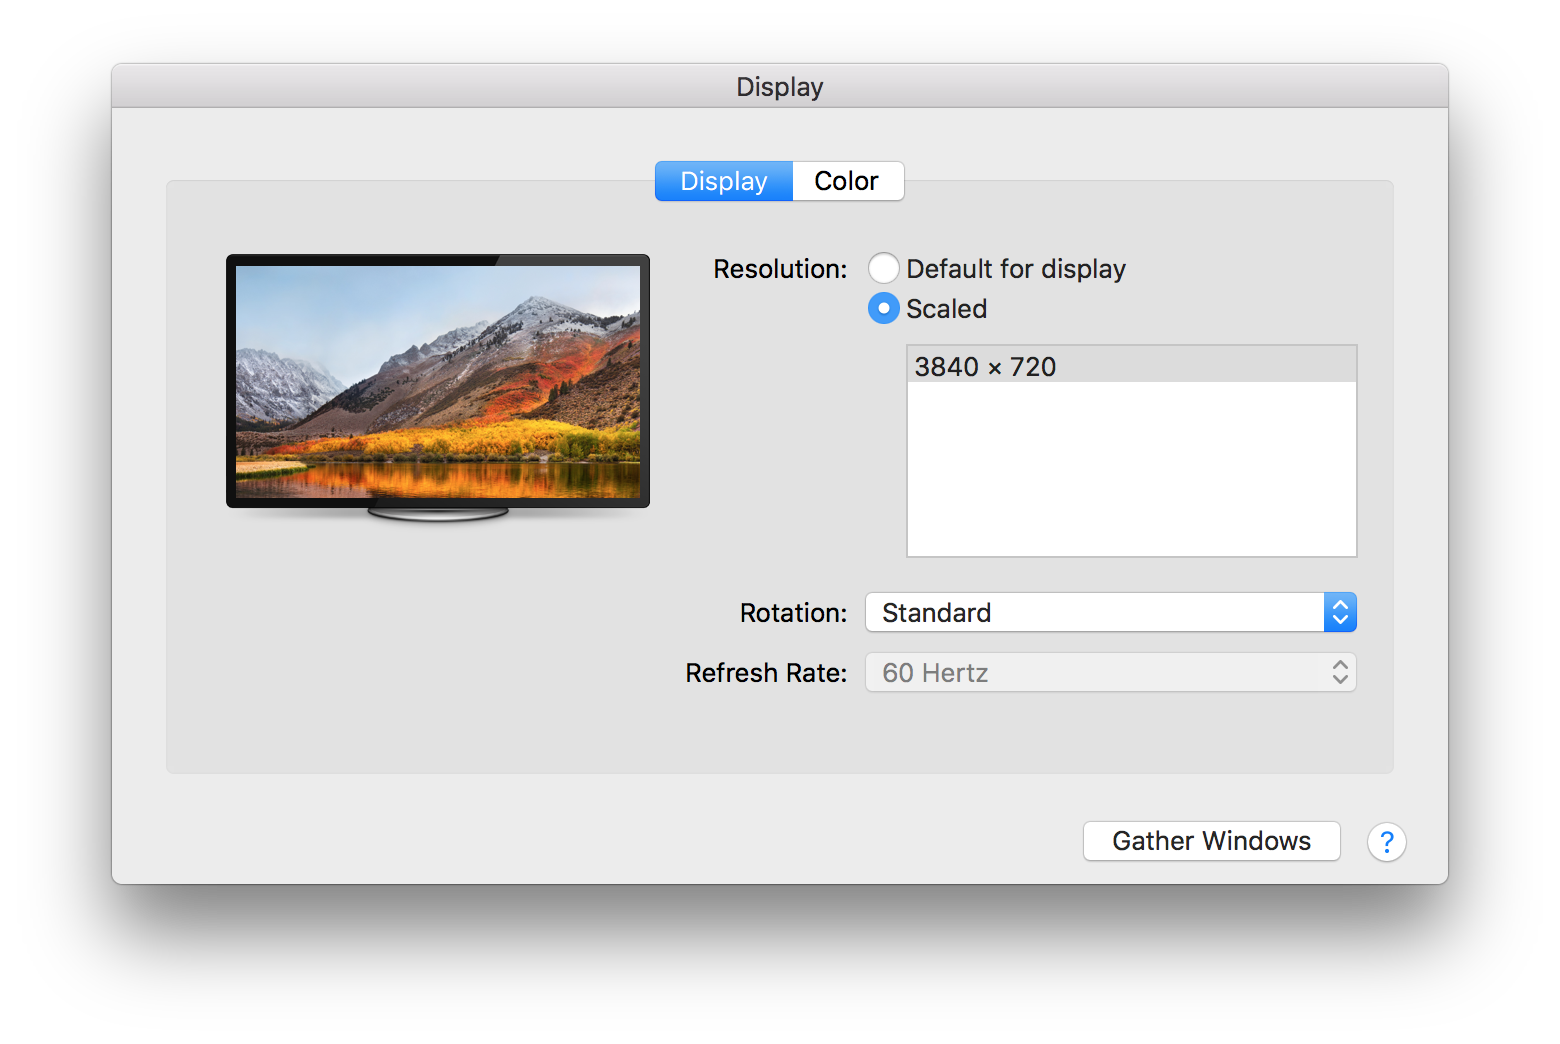
Once you select and apply the correct resolution in the EDID Management. You will need to open your Display Preferences from the Apple () on your Menu bar and make sure you select the resolution for your extended display. To do this you will need to select Gather Windows. Select the window that is titled "Display". You can now select Scaled and choose the total resolution for your MultiScreen Display.
The next step is to open ProPresenter Display Preferences. You should be able to select Full Screen. Your Output should cover all of your screens.
Edge blending consists of two or three overlapping projected images that have the overlapping regions adjusted to create a seamless blend. Because the outputs of each projector have to overlap in order for blending to occur, the actual width of your output will be smaller than the output resolution.
Once you have properly configured your computer and ProPresenter to work with double-wide or triple-wide media, you can configure the Blend module.
To start, check both the Enable Data and Enable Blending boxes. Select the number of projectors (two or three) that you are going to be using. To get started, you can enter the number of screens as your Screen Size, however, entering the final screen width in inches will give you a more precise blend. The Blend Area and Total Blend need to be positive values, so if they aren’t, double-check the screen resolution settings.
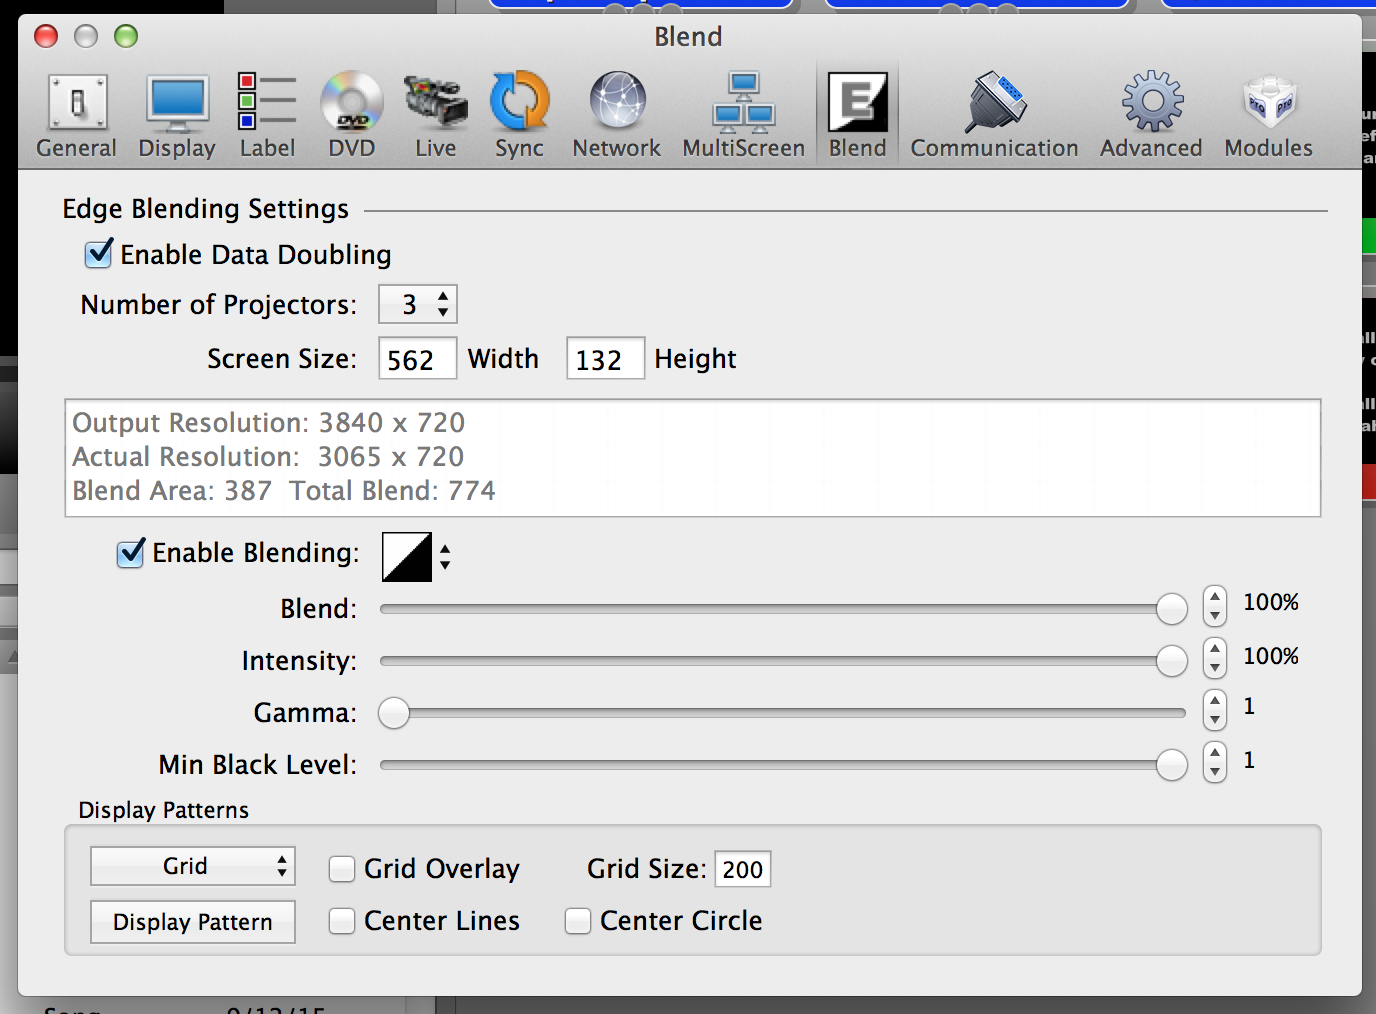
The lower section is used to adjust your blend areas. The black-and-white box is actually the representation of the curve being used to apply the blending adjustments. The three options--Linear, Cubic, and Quadratic--will result in slightly different blends. Test each option to see which works best for you since this varies depending on projectors and environmental factors.
The four sliders allow you to adjust the values of the blend. You will need to spend some time working with these to get the best blend you can. It’s recommended that you start with the first two sliders, Blend and Intensity, at 100% to help you establish a good baseline for adjusting your blend. Gamma adjusts the brightness of the non-blended are compared to the blended regions. If you find that your blended areas are brighter than the rest of your screen, you will want to adjust this settings. Black Level adjusts the video black brightness. Since a projector doesn’t display black, the brightness between the blended area and the rest of the screen may vary slightly.
You will want to use the blend grid to help you align your projectors and get them as perfectly aligned as possible before adjusting the blend settings. Getting the alignment perfect is critical to being able to achieve the best edge blend possible. If your projectors are slightly out of alignment, your blended area may be visible.
Due to the wide range of projects and their quality, achieving a “perfect” edge blend is quite difficult, even for the most skilled person. Due to many factors such as quality of the projectors, age of the lamps in the projectors, number of hours each projector has been used, and even the brand of the lamps in the projector, you may still see a slightly visible area where the images overlap. This occurs with any edge blending solution.