The way you apply transitions in ProPresenter may look a little different than what you are used to if you’ve used previous versions of ProPresenter, but the good news is, they still apply in the same ways.
Global Transitions
There are two global transitions you can apply in ProPresenter, one for the slide content and one for your media. The global transitions you set will apply to every slide and media item in the program unless you tell it otherwise (which we will discuss later).
The global transition for your slide content is located below the slide view area. This is signified by an orange transition icon. The global transition for your media content is located below your Media Bin provided it’s open. Should you close the Media Bin, it will show next to the global Slide transition. This is signified by a purple transition icon.

For both of these global transitions, you have three options (indicated by the three icons in the screenshots above). The icon on the left allows you to apply a cut transition, the middle icon allows you to apply a dissolve transition, and the third icon allows you to open the advanced transition options window where you can choose a more advanced transition which we will discuss in a moment.
Non-Global Transitions
There are several ways to apply transitions to individual elements inside of ProPresenter.
Presentation Transitions
First, you can apply a transition to an individual presentation. You do this by clicking the transitions icon in the Presentation Header. This will reveal the full custom transition window where you can choose your desired transition.
![]()
You can also apply a transition to an entire presentation from Edit Mode. In Edit mode with no slide element selected, you can navigate to the presentation tab on the right side and click the box next to “Transition” so that you can choose a transition.
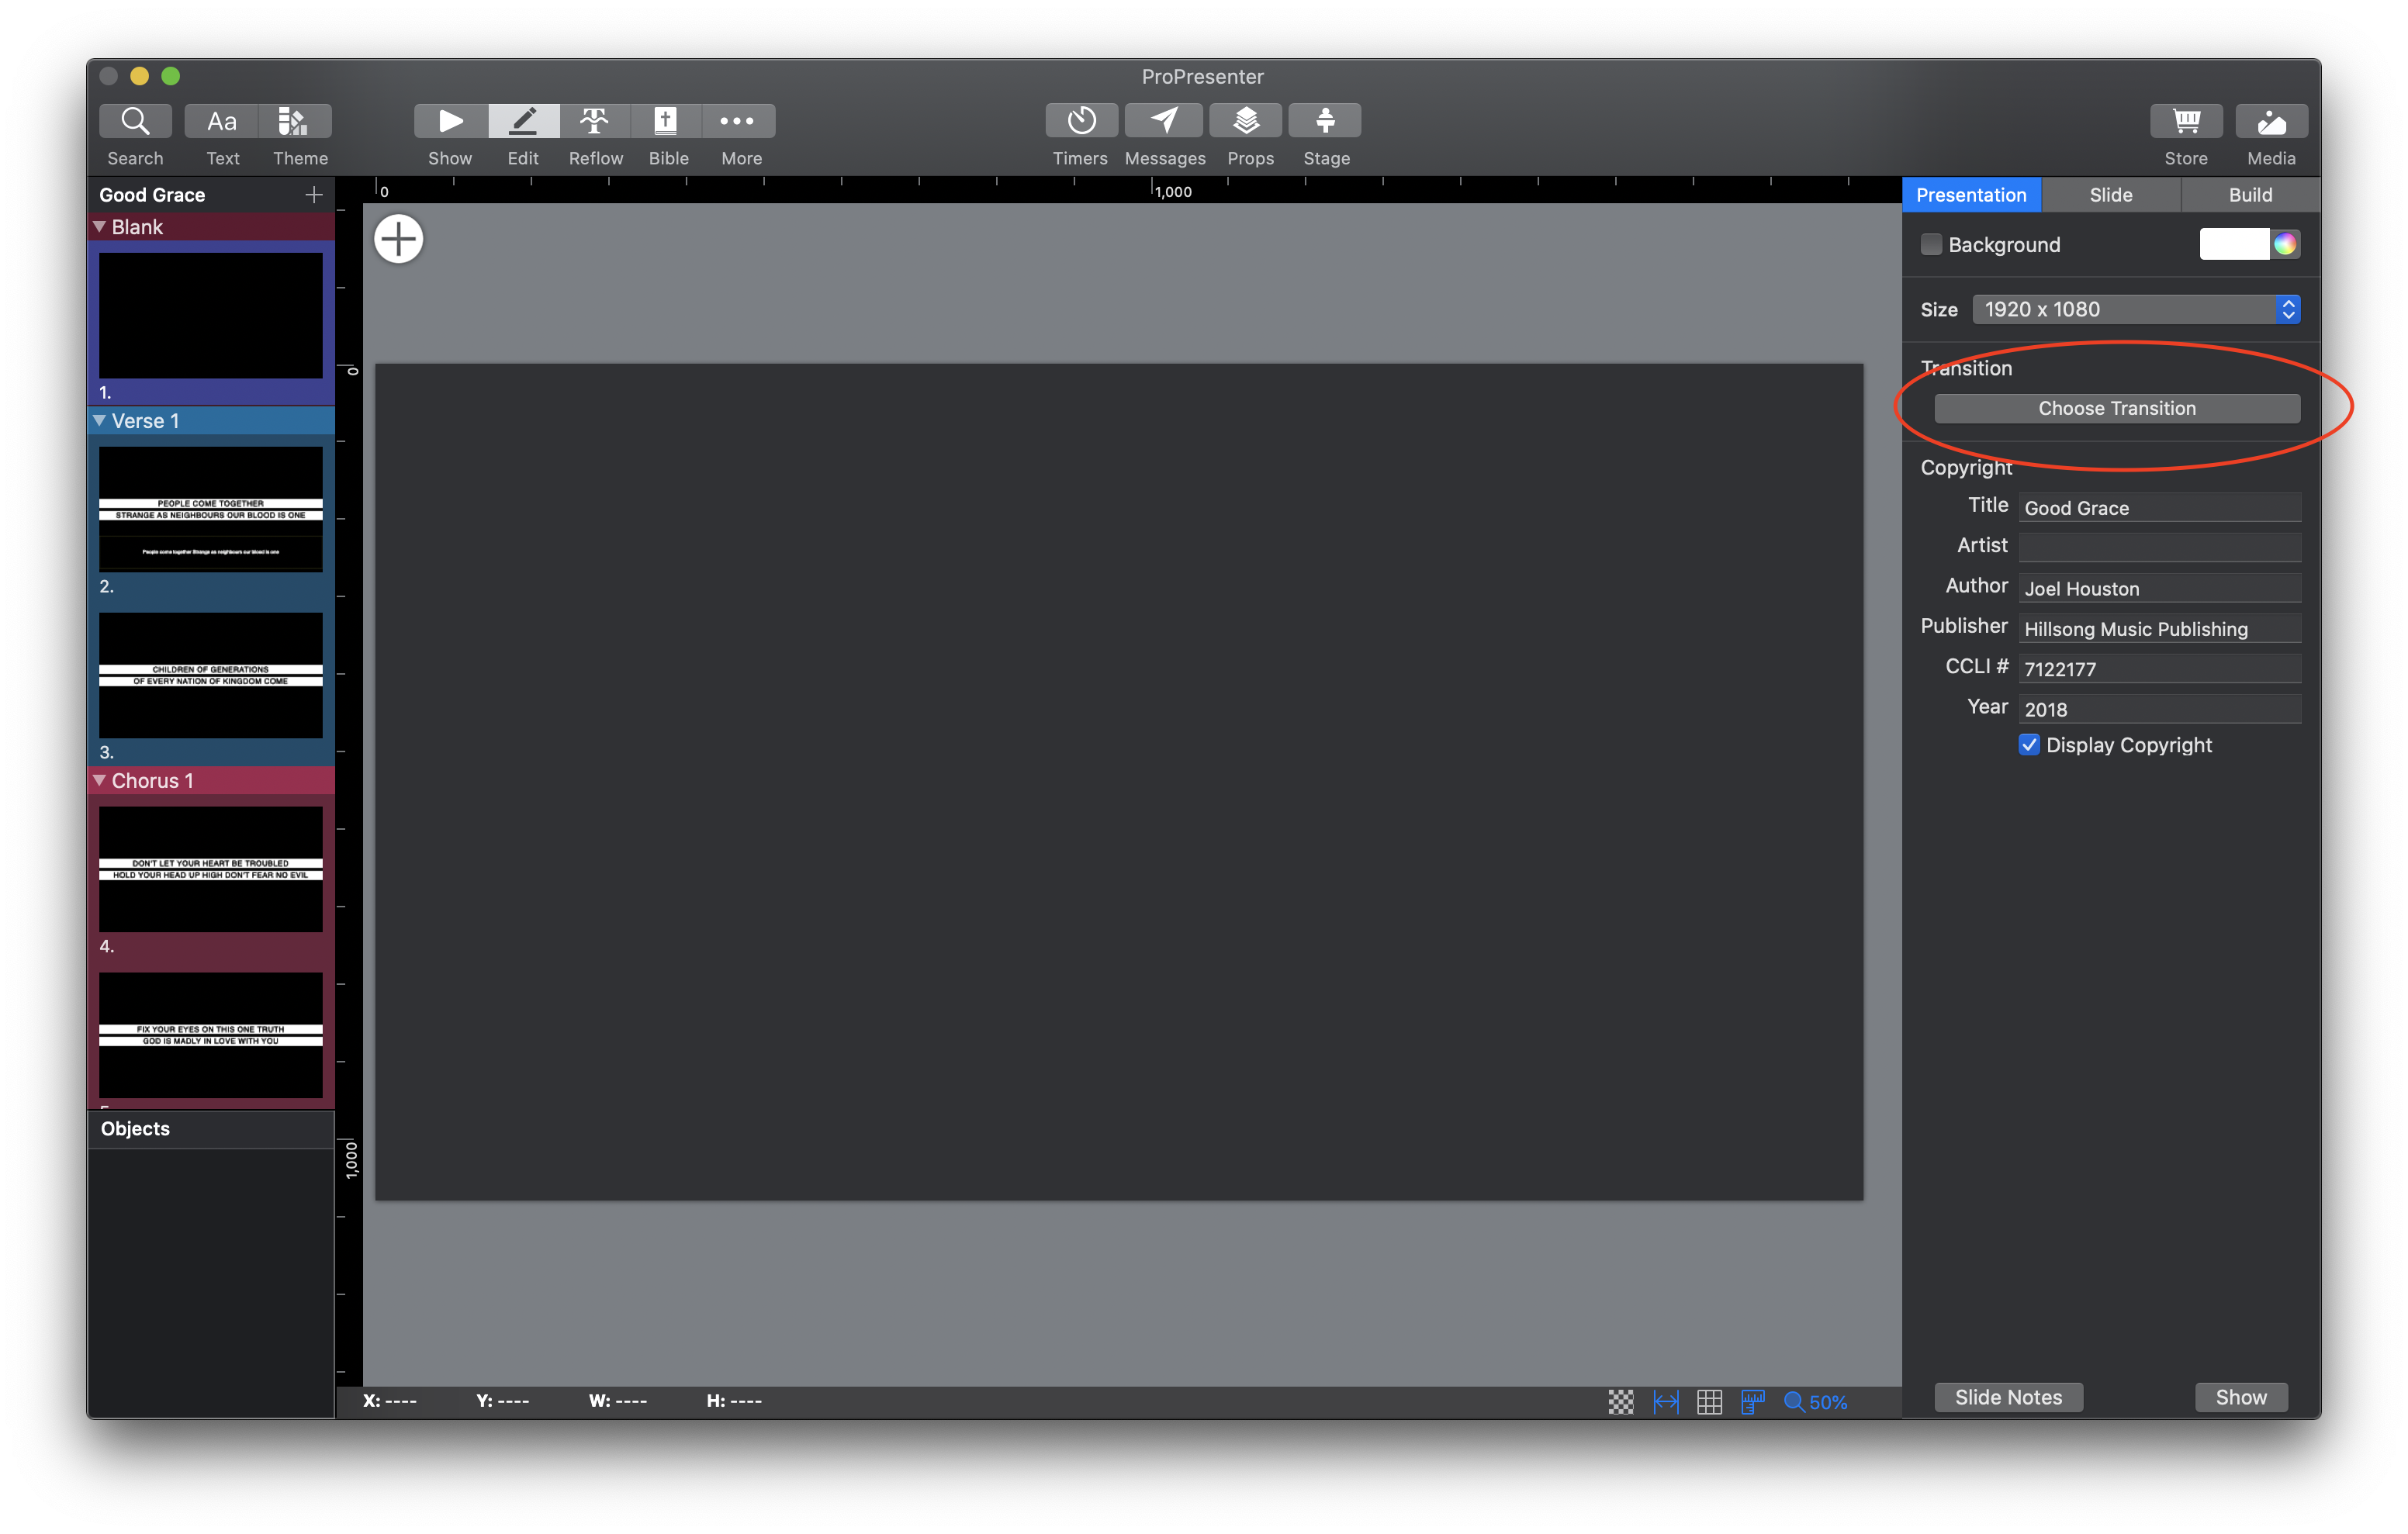
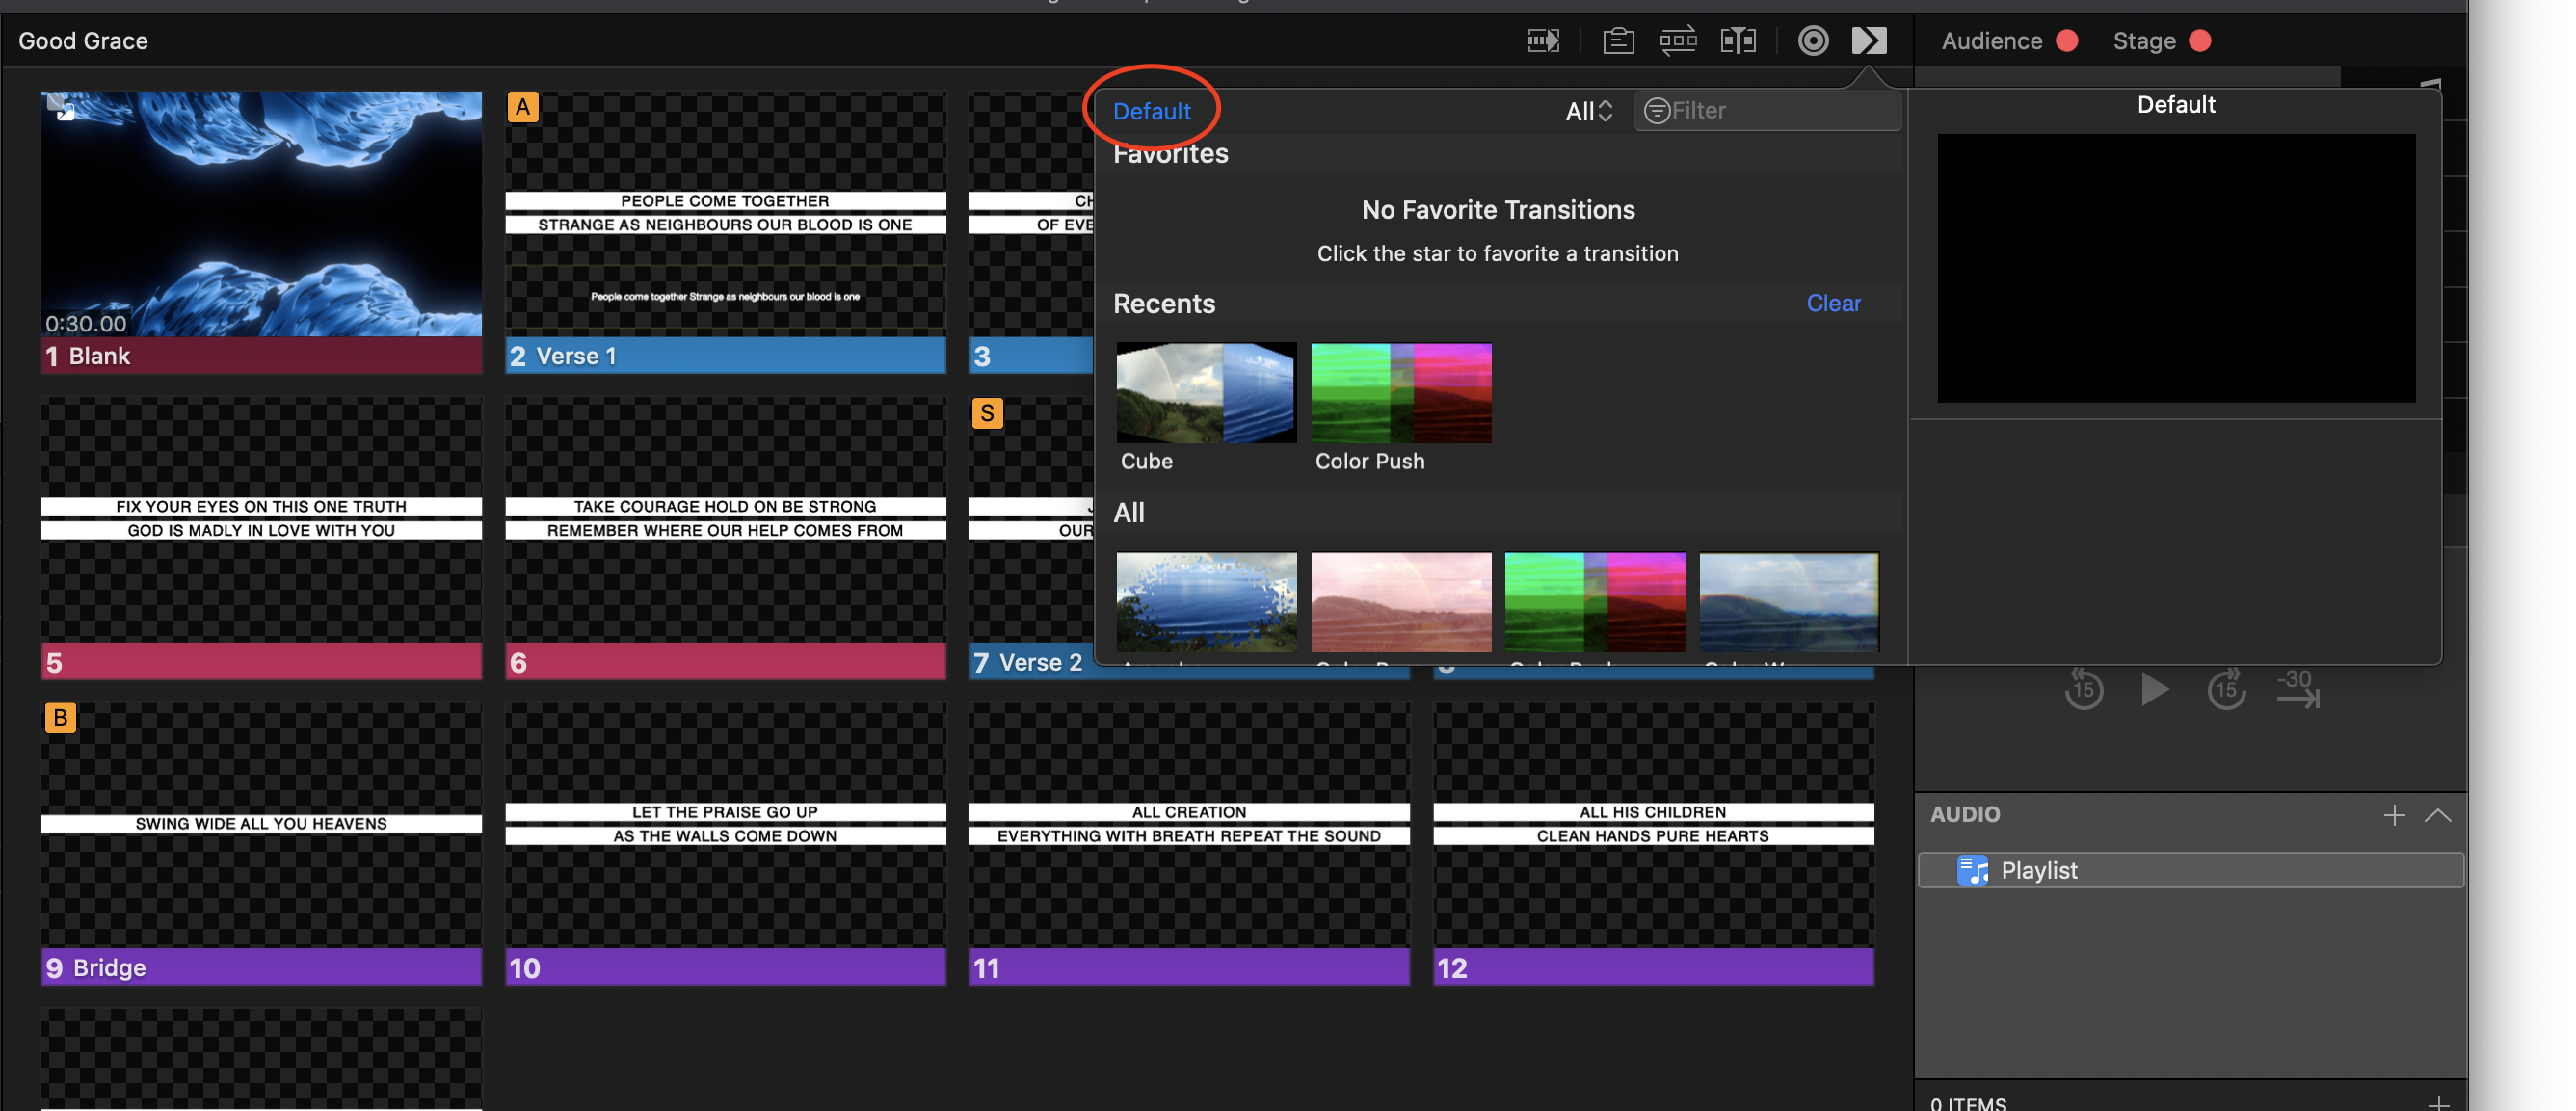
Once you’ve applied your transition from either of those locations, it will apply to all of the slide content in that presentation. If you do not apply a transition to a presentation, it will use the Global Transition for slide content (that we discussed above). At any point, if you want to revert to the Global transition, you can open the Advanced Transition Window and click the “Default” button in the top left corner.
Slide Transitions
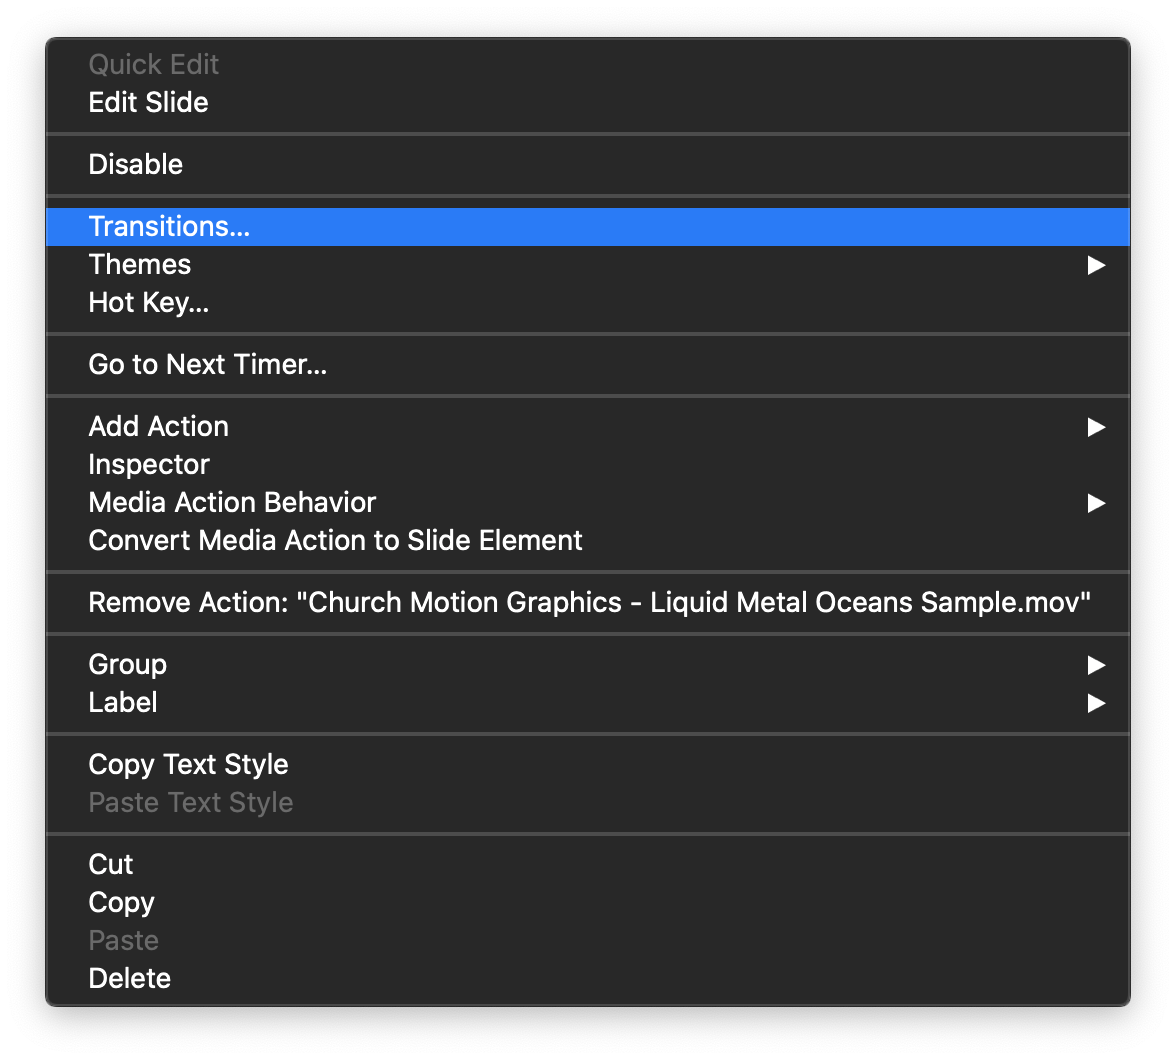
Next, you can apply transitions to individual slides. To do this, simply right click on the slide or cue you want to apply the transition to and choose “Transitions”. At any point, if you want to revert to the Global transition, you can open the Advanced Transition Window and click the “Default” button in the top left corner.
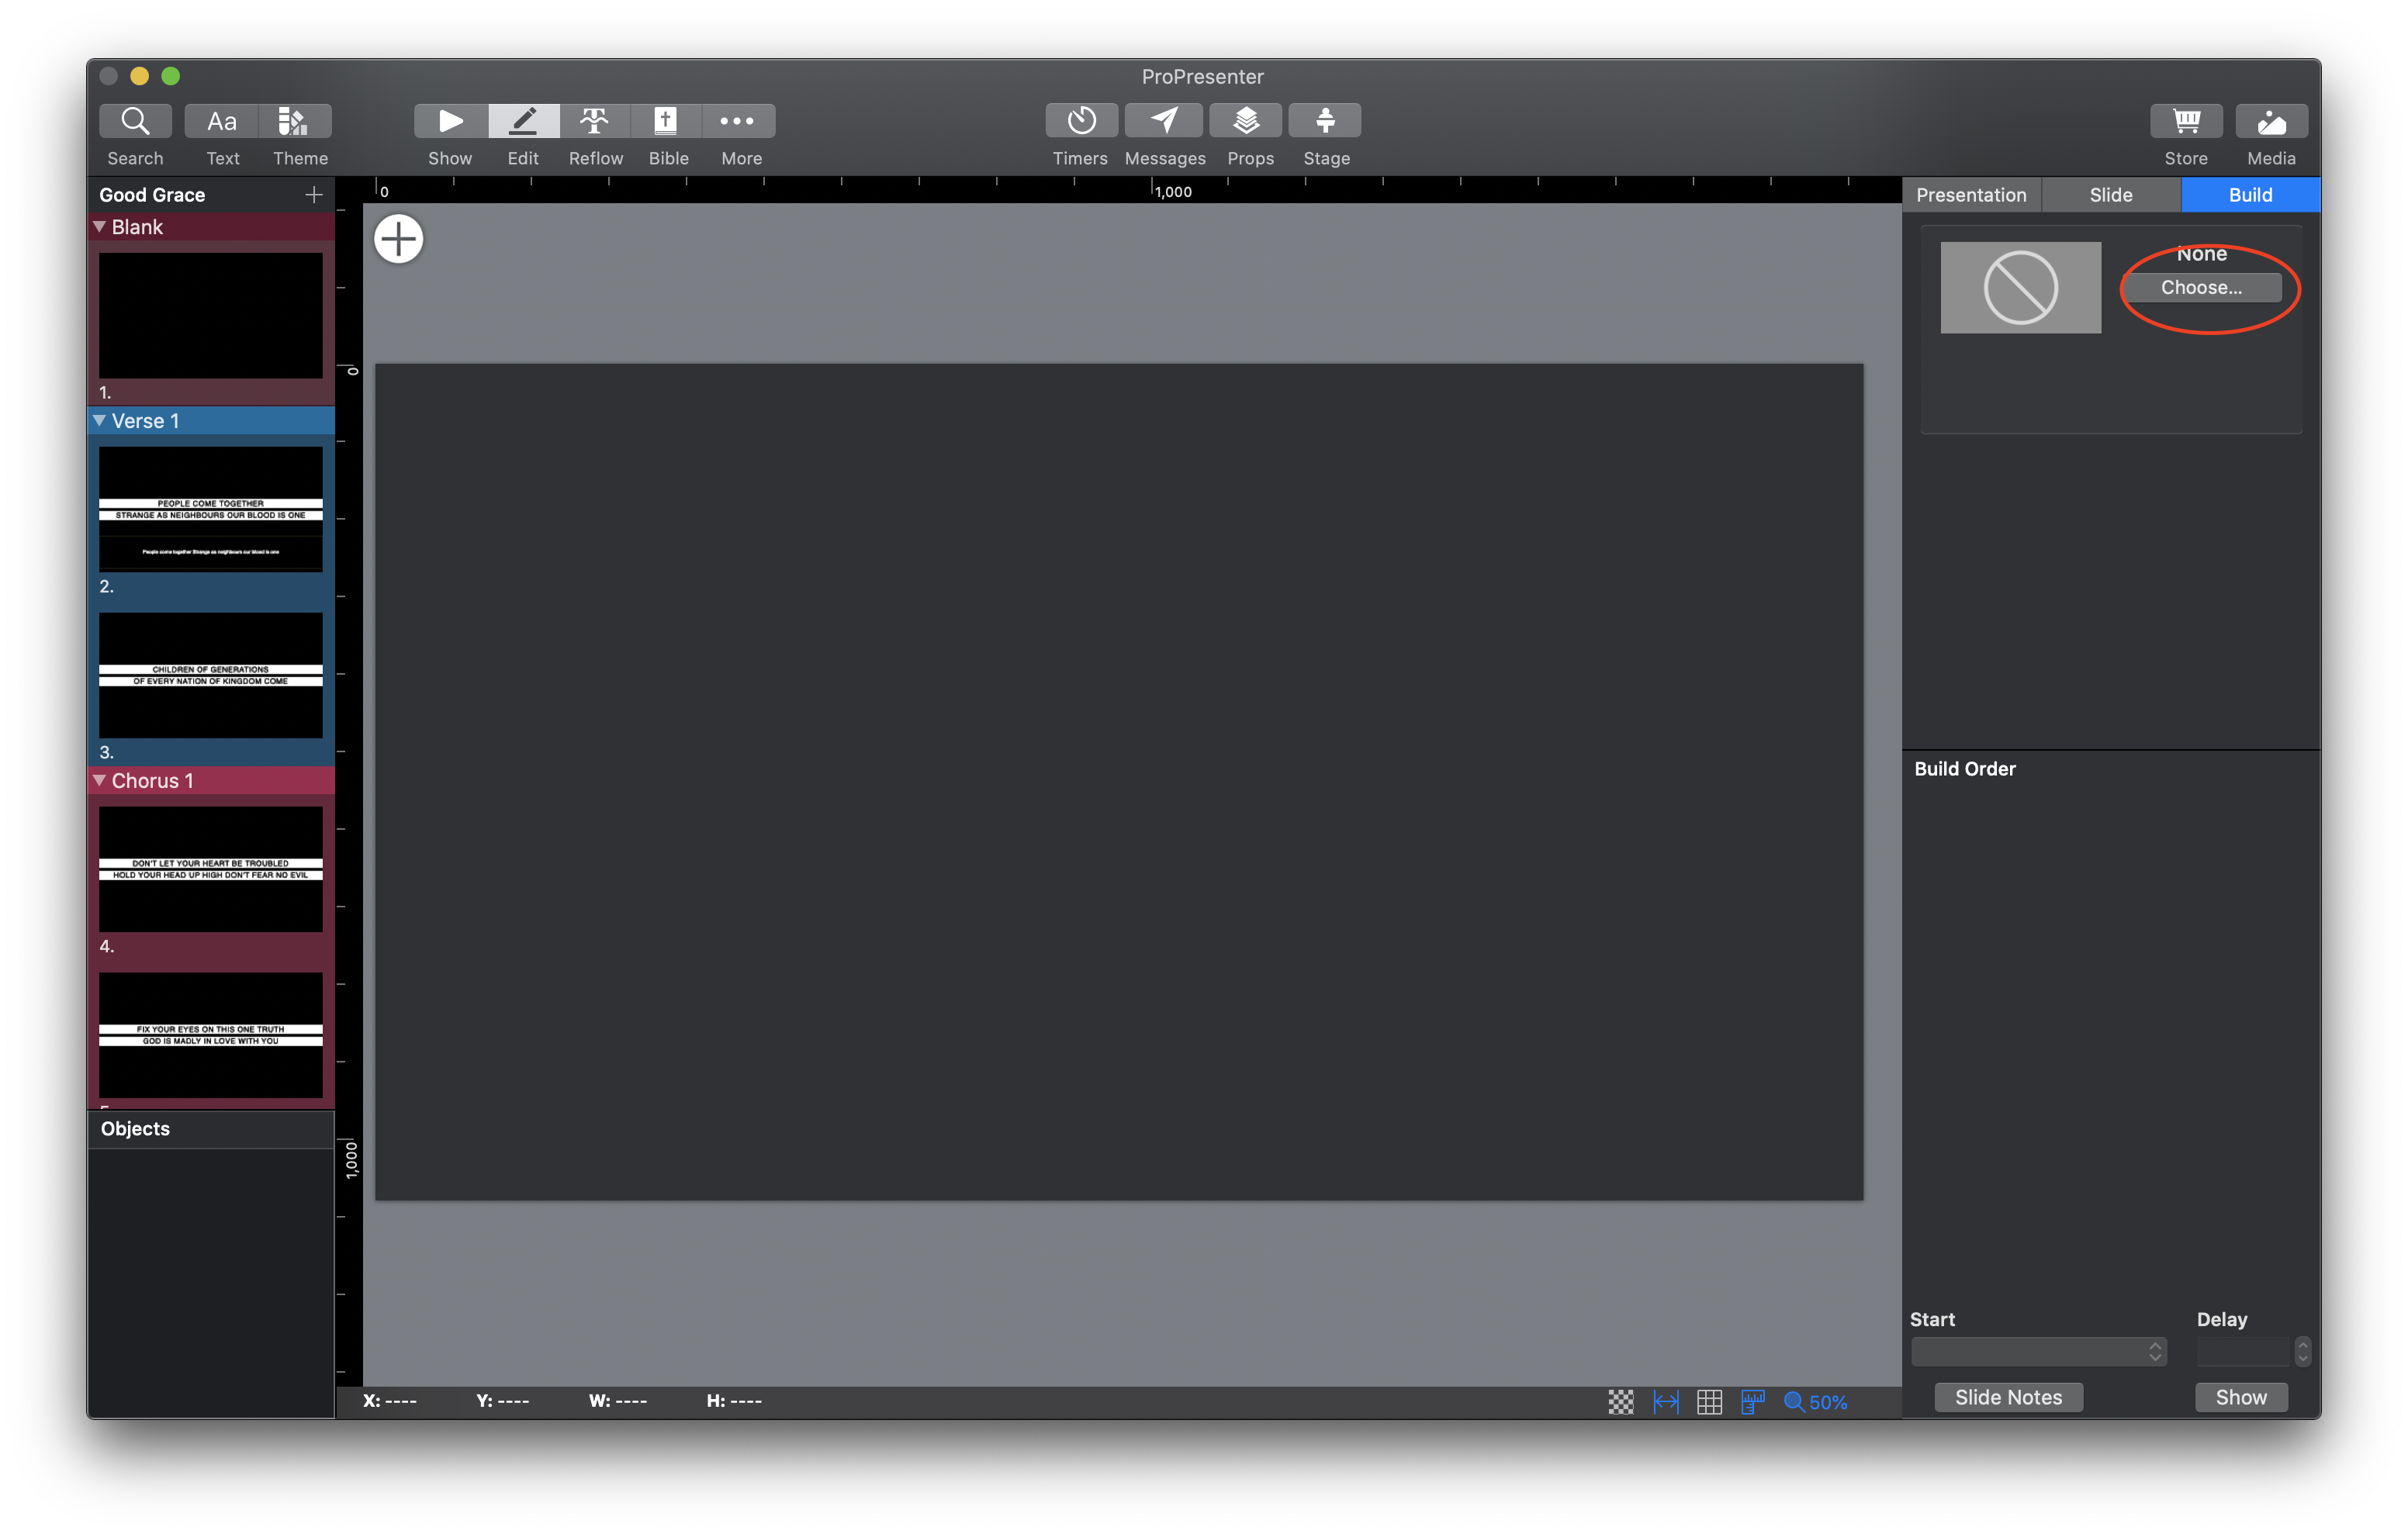
Or in the Edit Mode, if no slide elements are selected, you can navigate to the Build tab on the right and apply a transition from there by clicking the “Choose” button.
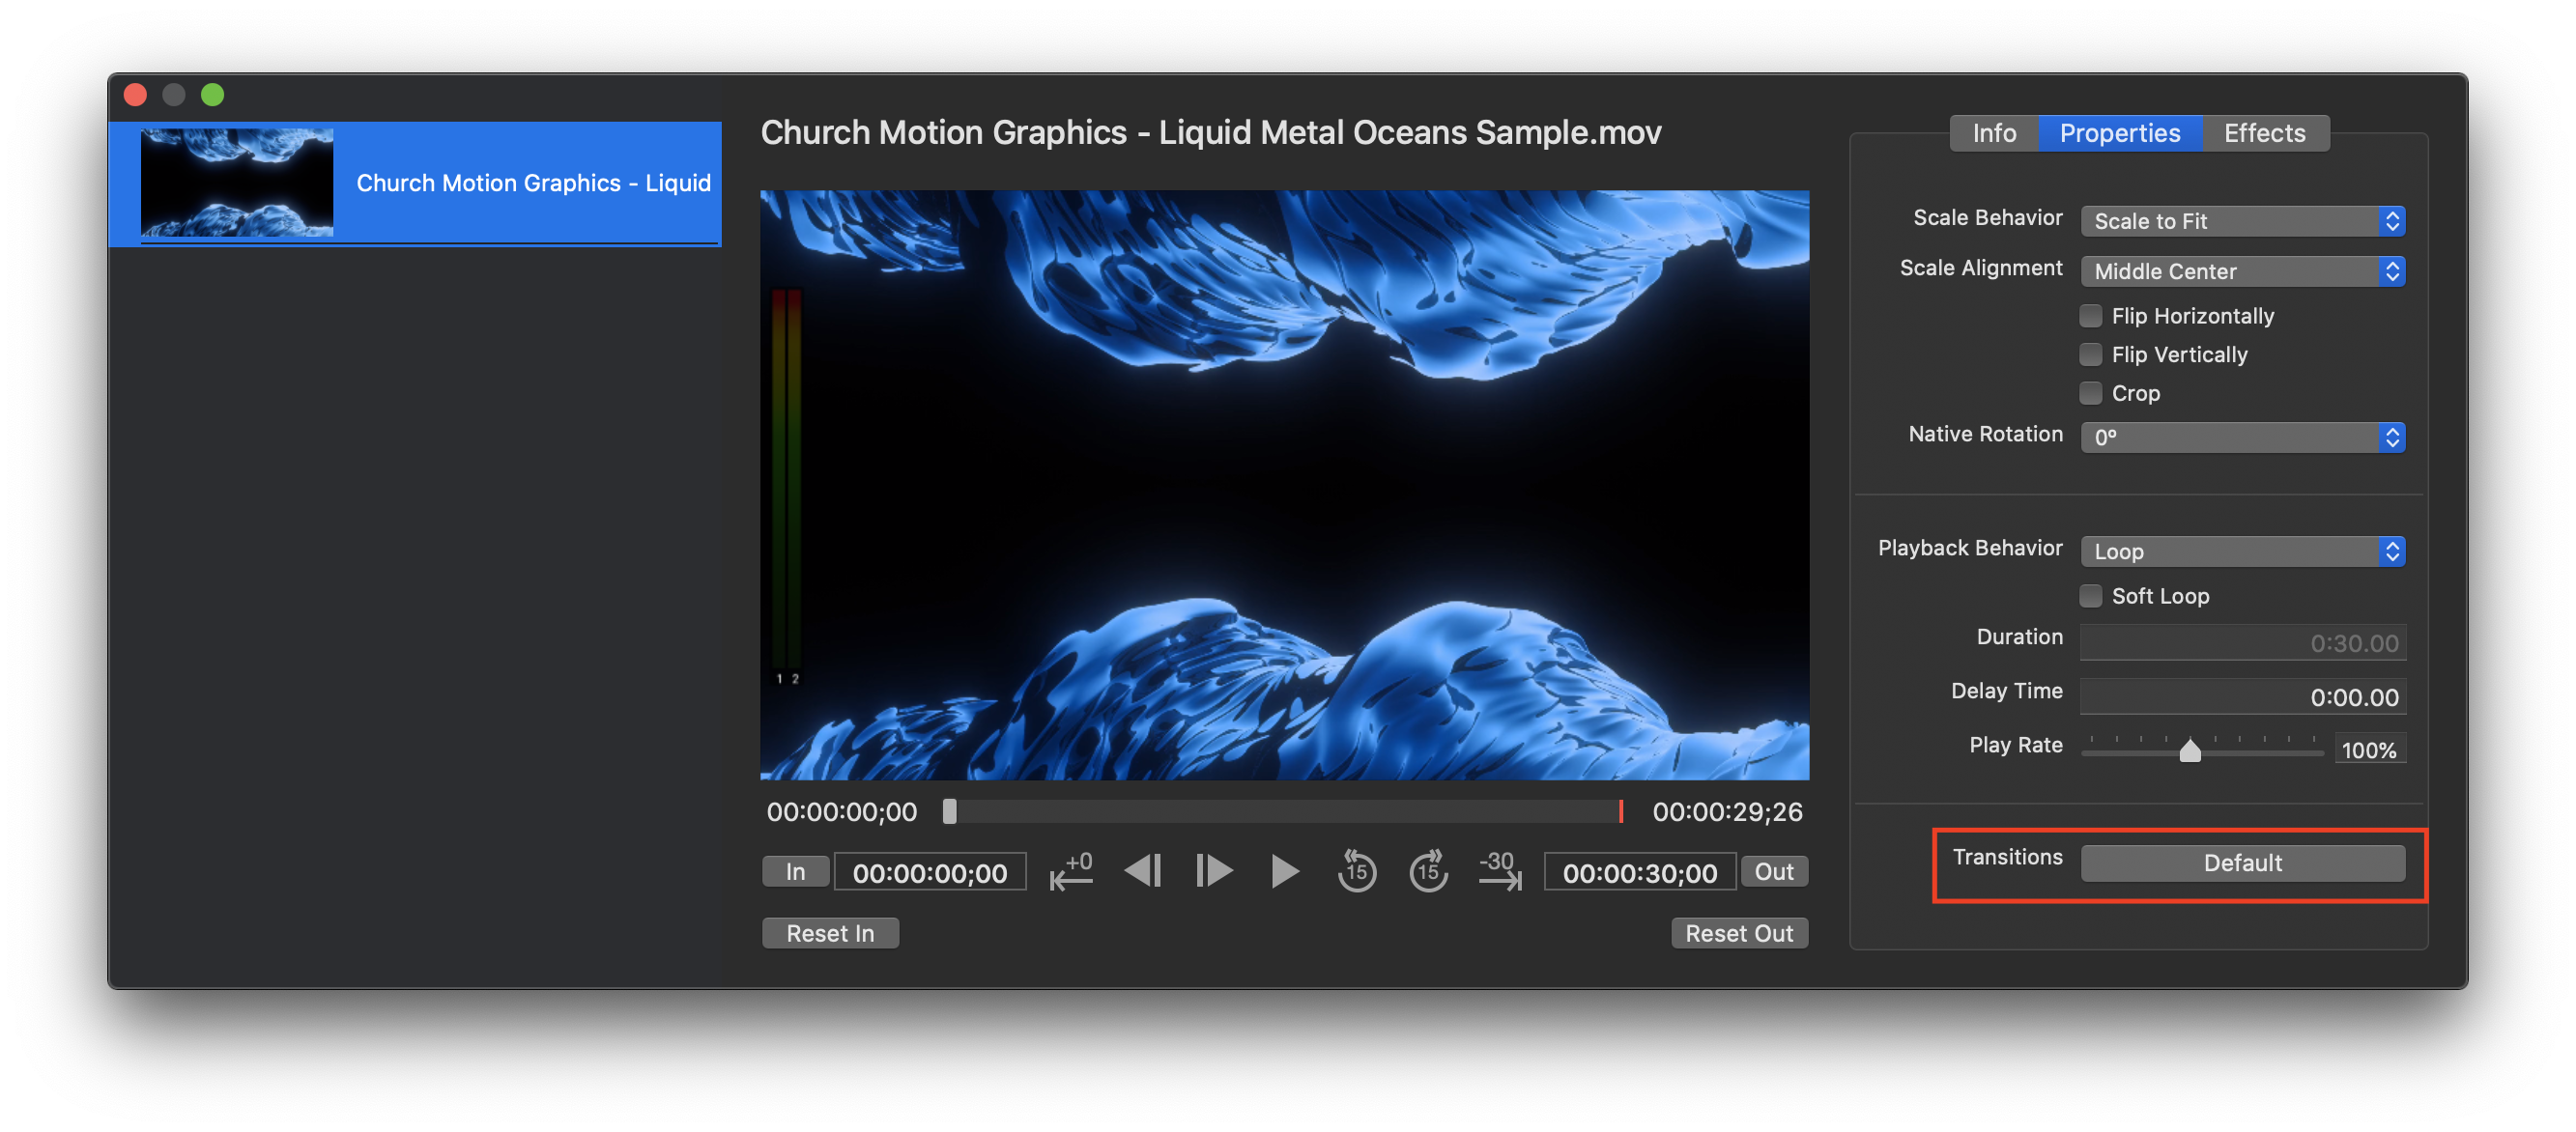
For setting local transitions for Media cues, this is done in the Media Inspector window. You can either set this on the item in a presentation itself or set these prior to adding them to a presentation from the Media Bin itself. To do this, right-click on the Media cue and select Inspector. Under the Properties tab, you can set a transition at the bottom of the window for the Media Cue to use when it’s triggered.
Object Transitions
You can also apply a transition to individual objects on slides. To do this, you will open the Edit window and select an object on the slide and go to the Build tab on the right. From the Build tab, you can apply a transition to each Object.
Other Transitions
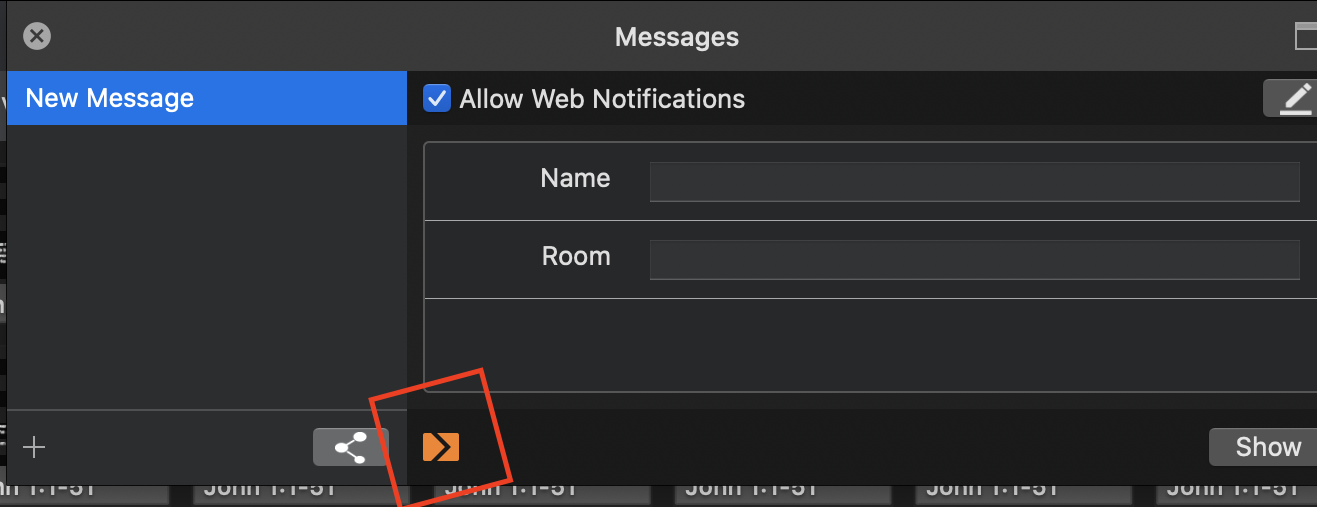
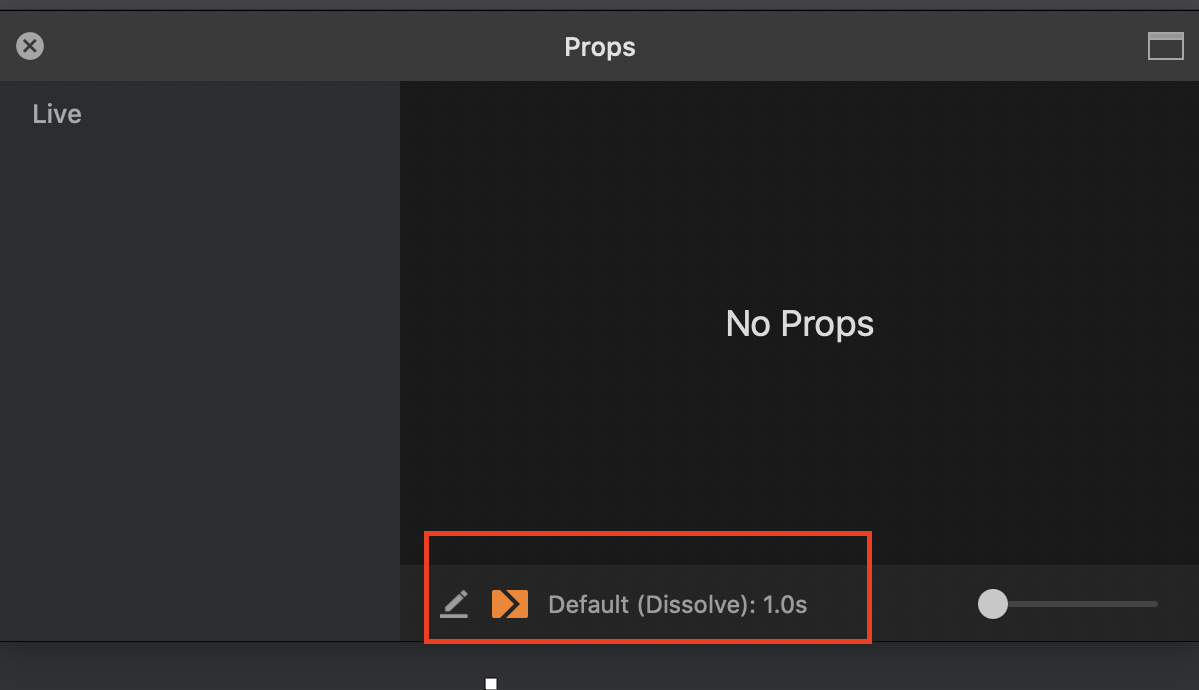
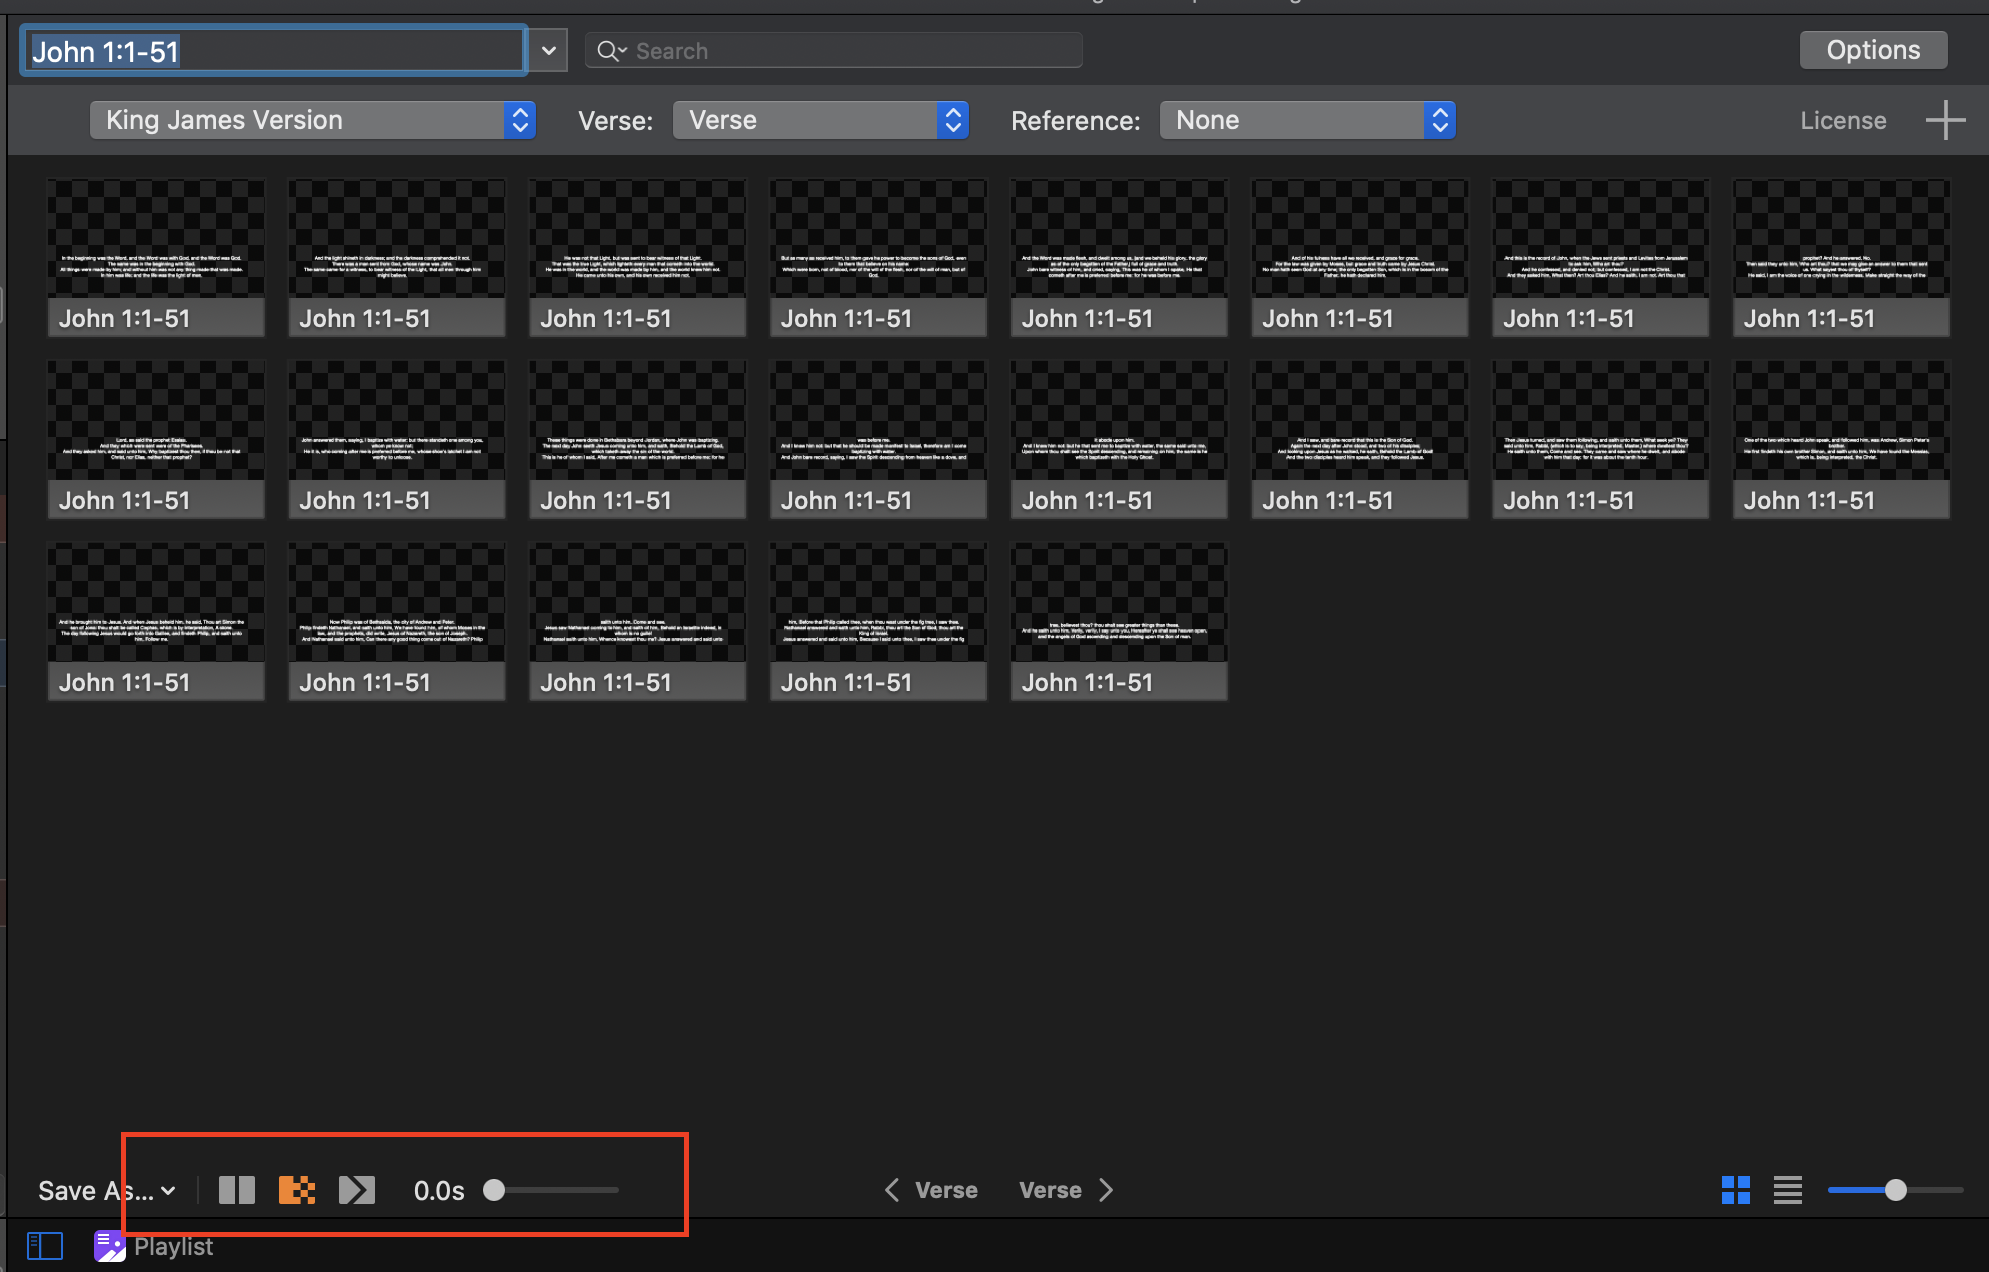
There are also several other locations where you can apply transitions to specific elements. There is a transitions button that will open the Advanced Transitions menu in the following locations: Props, Bibles, and Messages. The transitions applied via the transitions icon in these locations will only apply to those particular elements. One thing to note, however, is that these transitions will not follow your global transitions, so they must be set in the respective windows.
The Advanced Transitions Window
So now that we have talked about the many places you can apply a transition, let’s talk about the Advanced transitions window. Once you open this from one of its locations you will see all of the possible transitions on the left and your currently applied transition with the different parameters that you can change of that transition. In this window, you can click on any transition to apply it and then it will appear on the right side of the window for you to adjust parameters.
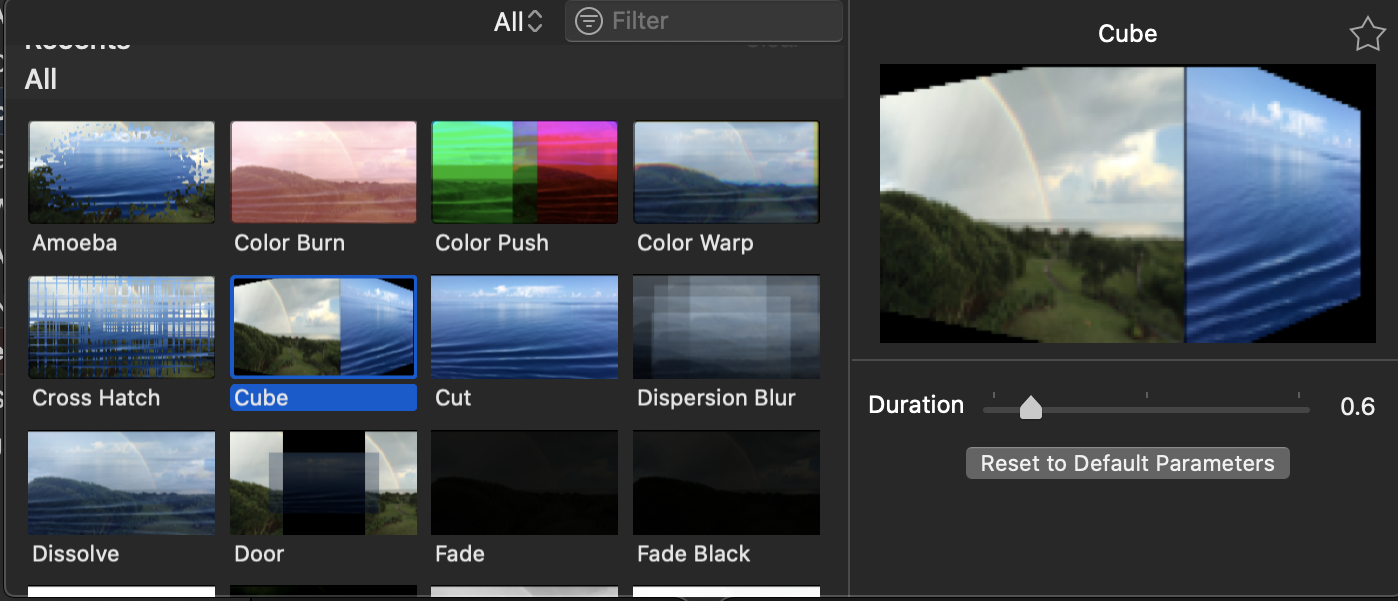
To preview what a transition will look like, put your cursor on the left side of the box above the transition name and drag it to the right. This will show you what a transition will look like.
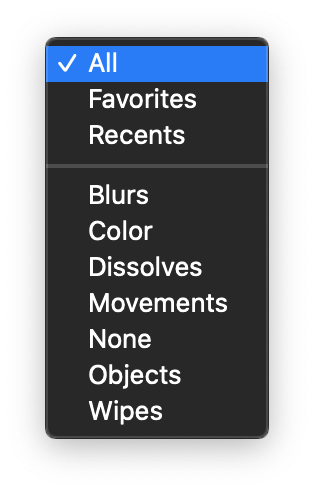
You can also change which transitions you are seeing in the Advanced Transitions Window by clicking on the drop-down menu in the top left. By default, it is set to show you “All”, but if you click on the drop-down you will see all of the options. You can just see your favorites (which we will discuss in a moment), your recent selections, or just certain kinds of transitions.
Favorite Transitions
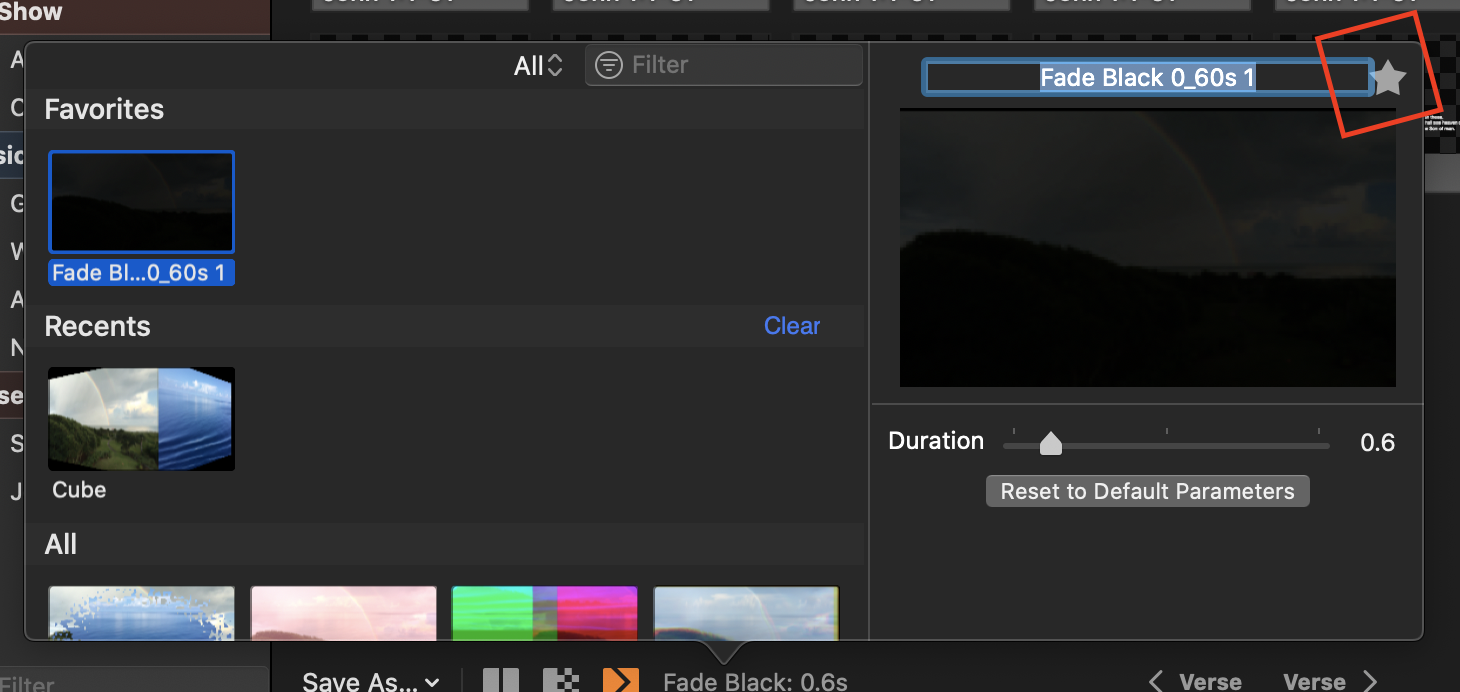
One new feature of transitions is the ability to mark a transition as one of your “favorites” for quick access. To do this, you would just open the full transitions window, select a transition you would like to favorite, in this case, “Fade Black”, apply the parameters you would like and then click the star in the right hand of the window next to the title. This will make the title of the transition editable and you can label it however you would like. In this case, I labeled Fade Black .5s. You can have multiple copies of the same transition with different parameters saved to favorites.
Once you have selected a favorite or multiple favorite transitions, you can easily access them by changing to “Favorites” in the dropdown menu at the top left of the Advanced Transitions Window.
Comments
0 comments
Article is closed for comments.