If you are installing the new version of ProPresenter on the same computer that you were previously using ProPresenter 6 on, there are two options for importing your data.
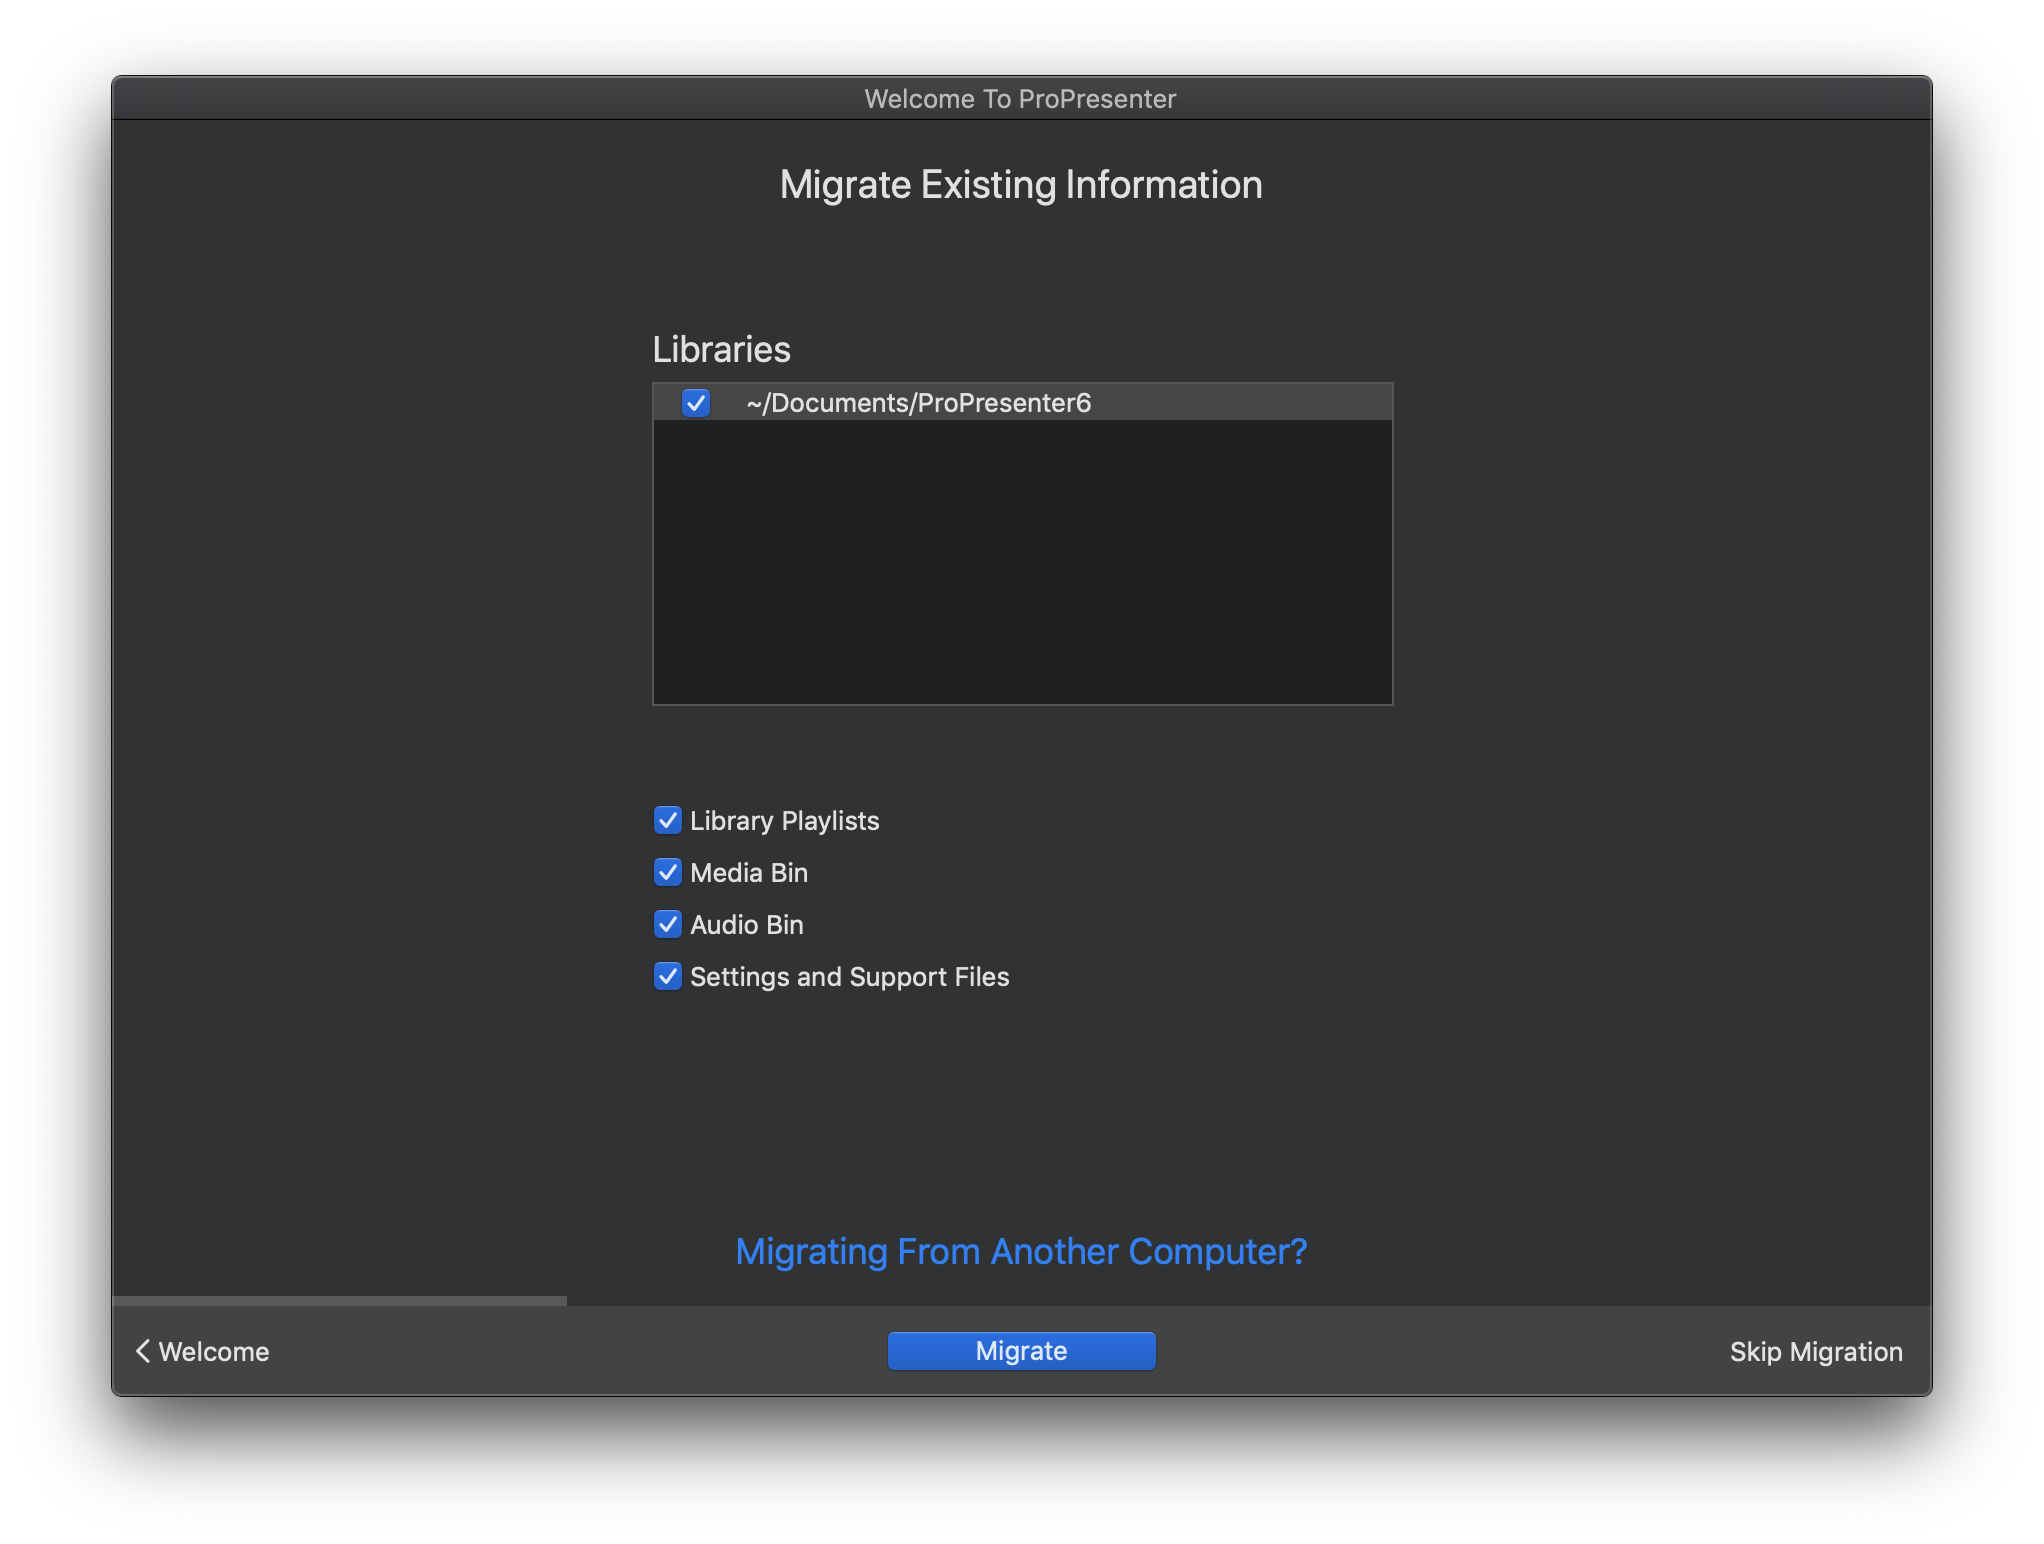
The first time you open the new version, it will walk you through the “Welcome to ProPresenter” prompts. One of these screens will give you the option to import your libraries from ProPresenter 6. You can choose to skip that process from here as well. If you choose to restart this process, you can do so by going to Window>Welcome to ProPresenter in the menubar.

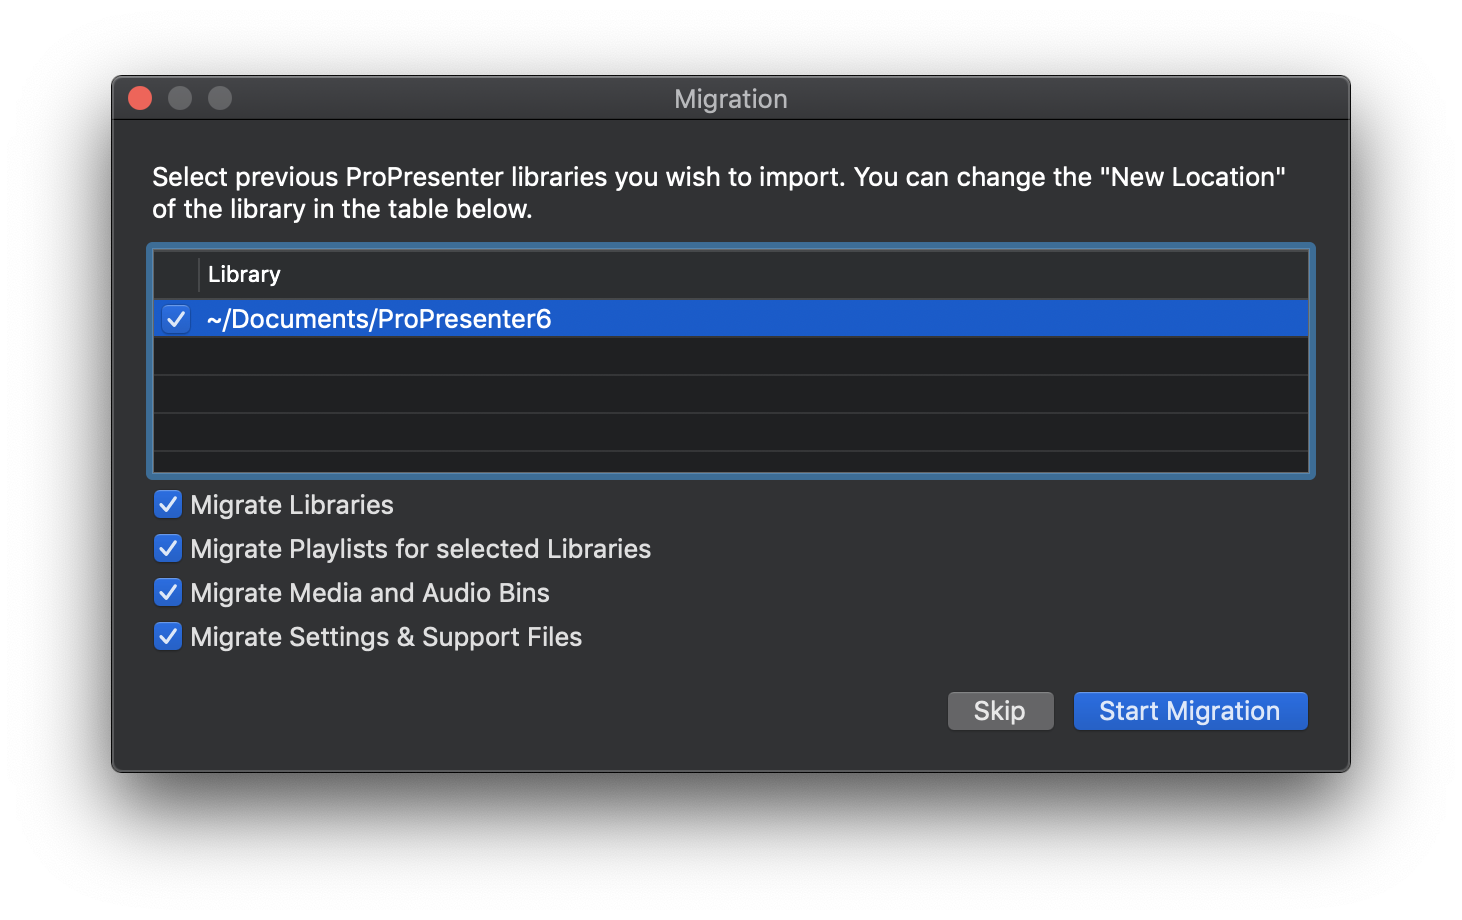
You can also complete this process even after you have gone through the Welcome to ProPresenter prompts. To do this, go to the File menu, hover on Import, and choose “ProPresenter Library”. From here you will get the same menu that you saw in the “Welcome to ProPresenter” prompts.

In both places that you can choose to import your libraries, you will see several options. The first option will be which libraries do you want to import. For these, you will see the file paths of your ProPresenter 6 libraries and they will default to being selected to import, although you can uncheck any you do not want to import. Next, you will choose what exactly you want to import. You can choose your libraries, the playlists associated with those libraries, your media files, and/or your support files and settings (includes stage display layouts, groups and labels, screen configurations, and other program settings)
Related to
Comments
0 comments
Article is closed for comments.