This article is Part One of a series of articles on using timers on Audience Screens and Stage Screens. Since all of these features are connected to each other, each article makes references to things covered in other articles. Use the links below to navigate between each part of this series.
Part One: You're reading it!
Part Two: How to Create a Countdown for an Audience Screen
Part Three: Using Timers on Stage Screens
ProPresenter makes it easy to create a variety of countdowns that can be shown to the audience or just to your Stage Screens. This article will cover how to create countdowns that are shown on Audience Screens. The benefit of creating a countdown directly in ProPresenter rather than using a prebuilt video countdown is that you are in control of the length of the timer and the placement. You can also style it anyway you want and place it over any content that you want.
Creating a countdown requires three things: the Timer, the Theme, and the Message. The Timer is what generates the actual countdown. This is where the data is being generated. The Theme handles all of the formatting and linking the Timer to a text box in the Theme. And the Message is what allows you to show the countdown on your Audience Screens. There are a few different ways to actually make your Message Countdown show, and those will be covered at the end of this article.
Let's start by looking at Timers.
To access Timers, click on the Timers button in show controls, selecting it from the View menu, or with the keyboard shortcut. On Mac, the shortcut is Control-C. On Windows, the shortcut is Control-Shift-C. The Timers button is located in the middle part of show controls by default.
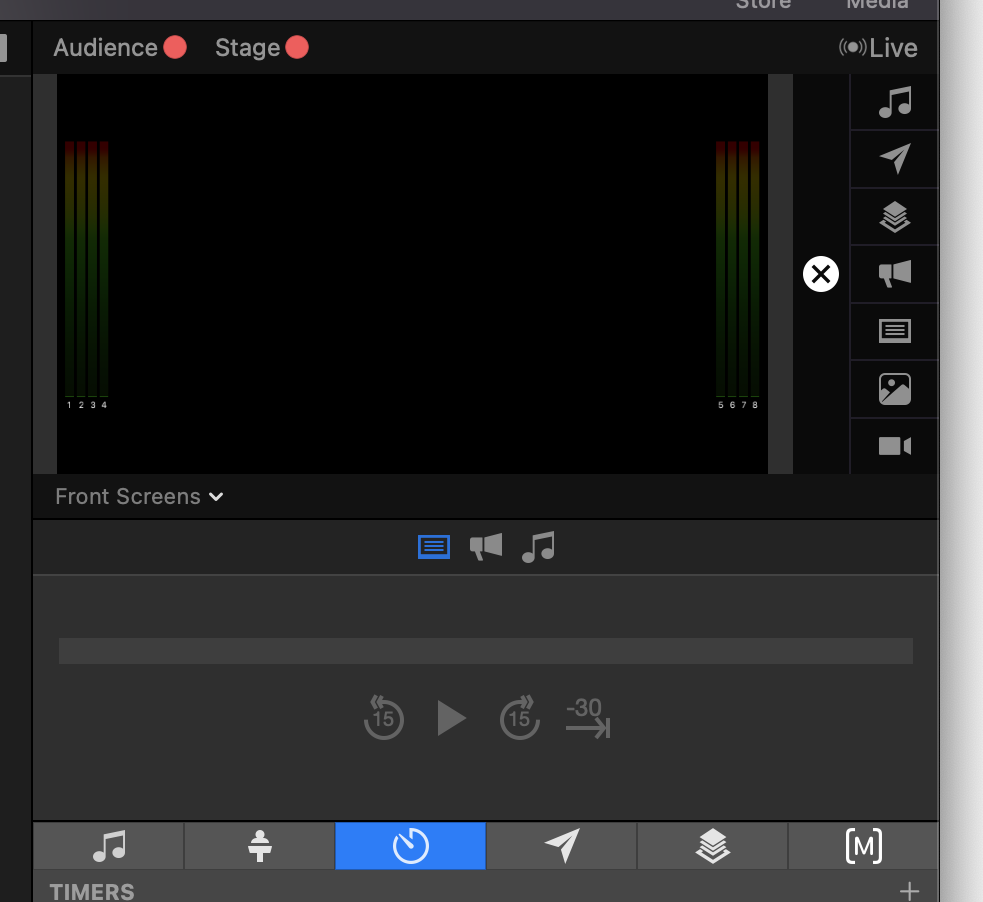
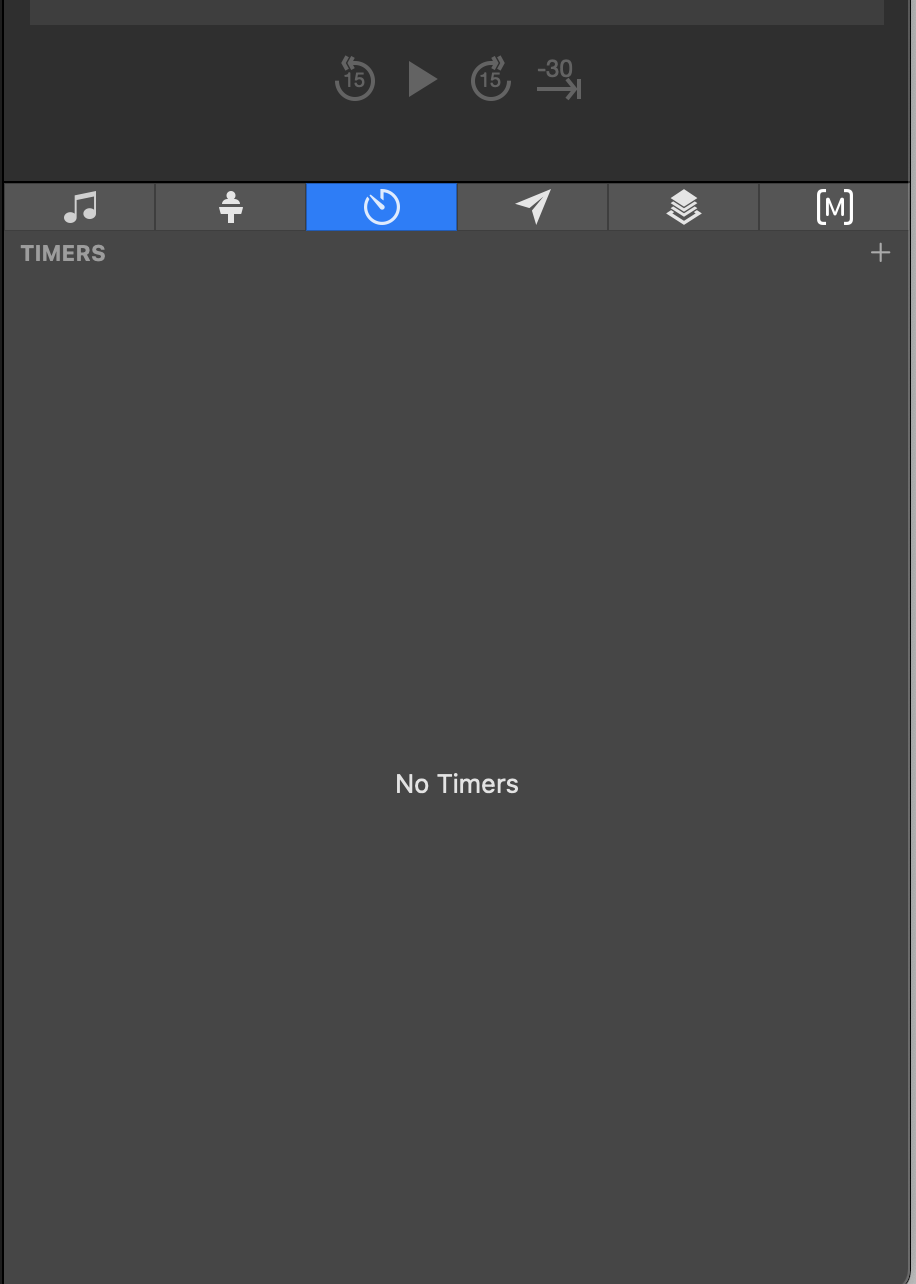
When you open Timers, you will see a window like the one shown below. Depending on whether you imported anything from ProPresenter 6 or have already used Timers, you may or may not have existing timers listed.
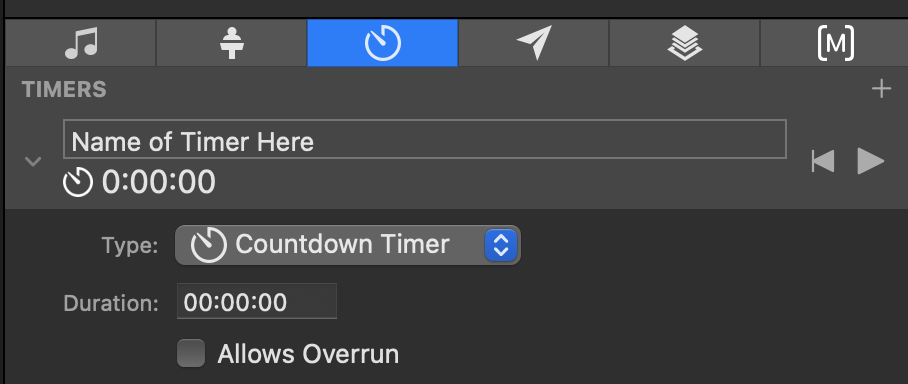
Click the plus (+) button in the upper right corner to add a new timer. This will add the default timer, which is a traditional countdown timer. There are two key things we'll look at right now. The first is the text box that says "Timer". You can rename the countdown with this text box. The second is the Duration. The countdown timer uses the format of HOUR : MINUTE: SECONDS. If you want a timer to run for 1 hour, 37 minutes, and 30 seconds, you would 1:37:30. This format will update to read 01:37:30. If you want a 5 minute countdown, you would enter 5:00. This format will update to read 00:05:00. There is no need to put the leading zeros in, since ProPresenter adds them automatically.
There are two additional timer formats available. Click the clock symbol next to the name text box to access the drop down menu that allows you to switch formats. The two additional timer formats are: Countdown to Time and Elapsed Time.
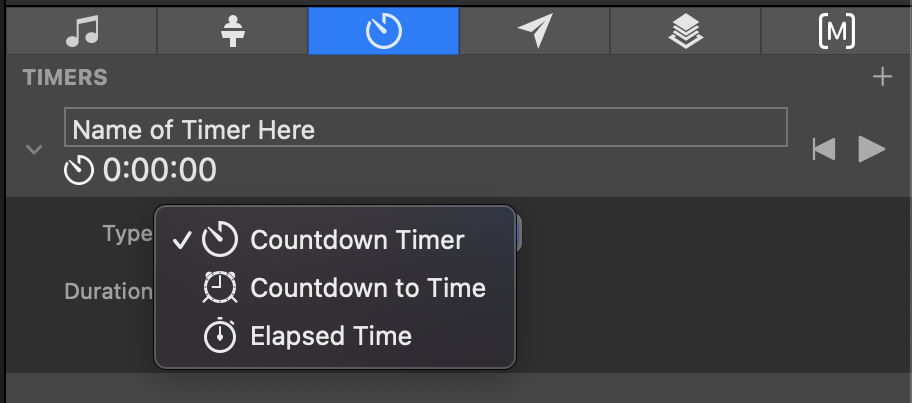
Countdown to Time is useful if you are setting a countdown timer and need it to reach zero at a specific time of day. One clear example of this is the New Year's Countdown. If you need to countdown to midnight, you don't want to try to calculate how many hours, minutes, and seconds away that is and then try to start the timer at the exact right time. You would use this timer option whenever you need a very precise countdown for your event.
For this timer, you will enter the time plus select the format. You can choose from AM, PM, or 24 Hour. The time formatting is the same for this clock, except instead of assuming you want to start with minutes, it assumes starting with hours. Entering 12 or 12:00 will automatically format as the time shown in the image below. Using the default time shown in the image below, the timer would count down to midnight. If the time format was changed to PM or 24Hr, it would start counting down to noon tomorrow.
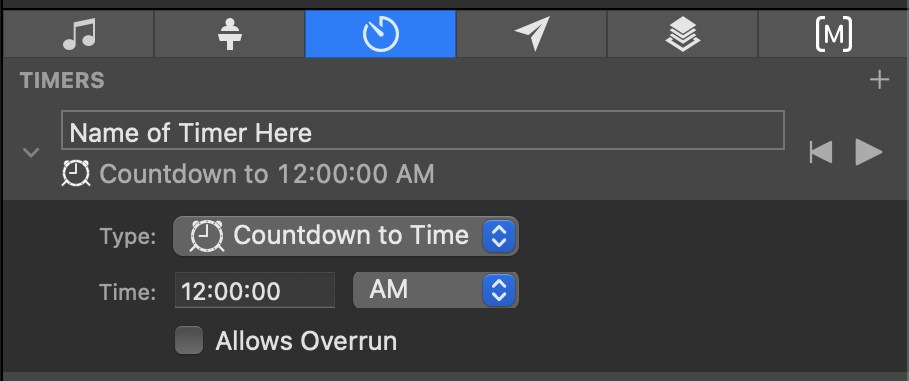
The final timer option is Elapsed Time. This timer works on the same logic as a stopwatch. It counts up from the Start time. You can choose to let the clock run indefinitely by leaving End empty, or you can enter a time and the clock will stop at that point.
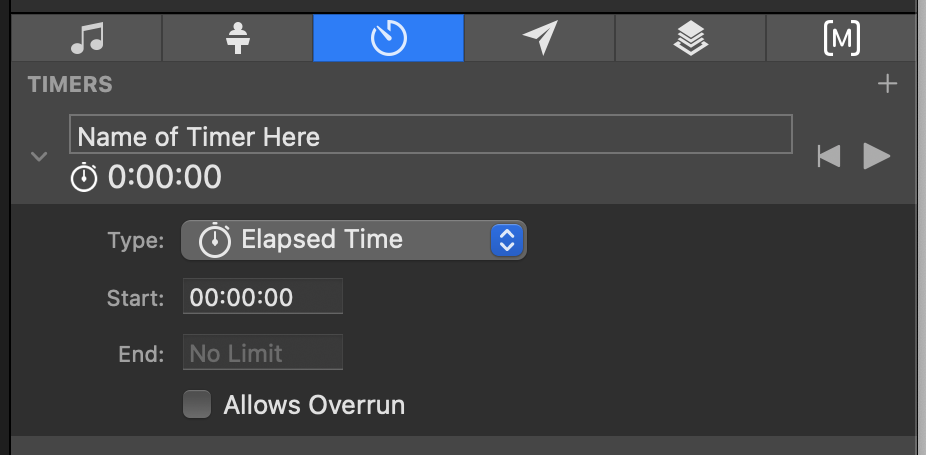
Each clock also include an option called Overrun. Enabling this option will allow your countdown to run past the defined end point. In the case of the first two countdowns, once the countdown reaches zero, it will begin counting negative numbers. For Elapsed time, if the End time is reached, then the overrun settings allows the timer to continue running. Overrun can be used to change the color of the timer when enabled in the Theme that you are using to display the timer.
The button with the circular arrow on it is the reset button. This will reset the clock back to the settings you have entered. The next section displays the time of the clock that is running. The Start button will toggle between Start and Stop depending on if the timer is running or not. This is one of the options for starting a Timer, but is going to be the least used option in most cases. We will cover other ways later.
There is no limit to the number of timers that you can add. Simply click the plus (+) button to add additional countdowns and make changes to the settings as necessary.
This final image shows three timers currently setup, one for each type of countdown. You can see that each timer is currently running from the time shown on the left. The Start buttons have also all switched to Stop buttons.
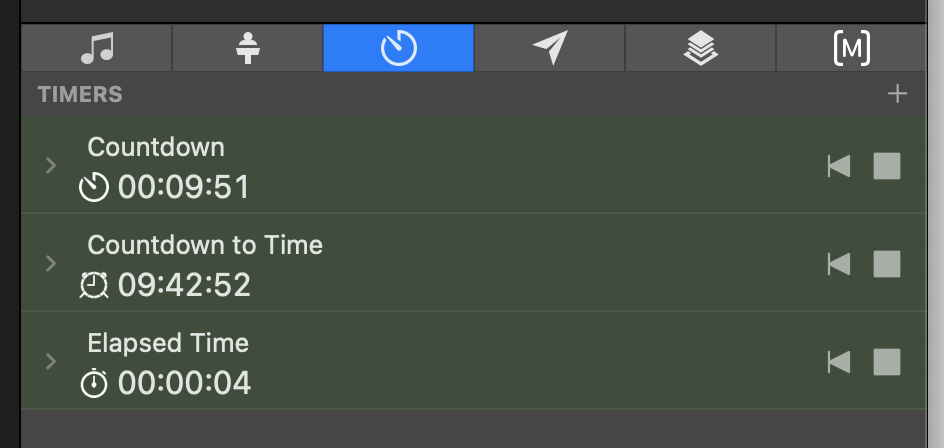
There are a few other items that haven't been covered yet. The arrow to the left of the timer will collapse the timer. When you collapse the timer it will only show the name of the timer, the reset button, the run time remaining, and the Start/Stop button (as shown).
Comments
0 comments
Please sign in to leave a comment.