Starting with the new ProPresenter7.10 update you can now add Playback Markers to any Video, and Audio files. This functionality will enable users to label certain points in a piece of media, jump to specific points, trigger Actions at specific points, and track the time remaining or elapsed from a certain Marker.

Adding Markers
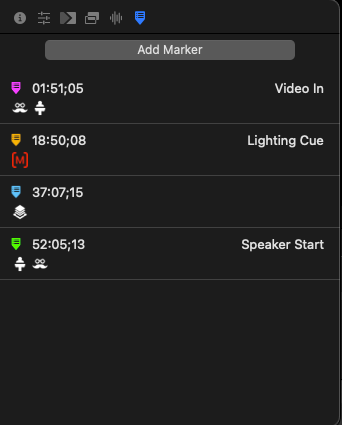
To add a Playback Marker, navigate to the media element's inspector. Once here, you can navigate to the Markers tab at the top, and you can view, add, and edit Playback Markers for a specific piece of media or audio. Choosing "Add Marker" will add a marker at whatever position the playhead is at in the preview area on the left. Each Marker row shows the Marker icon in its given or chosen color, the timecode of when the Marker is placed in a piece of media, the Marker’s name (if applicable), and the icons of any Actions applied to the Playback Marker (if applicable).

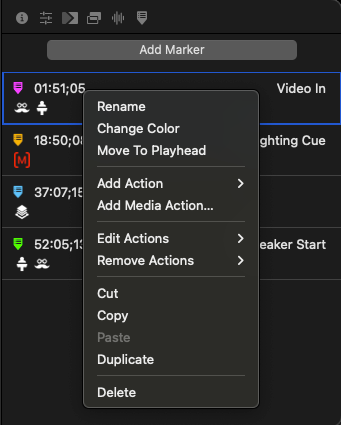
Using the context menu, users can rename, recolor, add/edit/remove Actions, cut, copy, paste, duplicate, and delete. You can also use the "Move to Playhead" option and this will change the selected Marker to whatever position the Playhead is currently at.
Adding Actions
Adding Actions to Markers will allow you to trigger specific actions, when that time is reached. Actions can be added to Markers similarly to how they are added to Macros. You can right-click and use the contextual menu Add Action option, drag Actions from the Action Palette, drag Show Controls such as Props and Timers directly onto the Marker row, and you can even drag and drop media/audio from outside of ProPresenter onto the Marker row to create Media and Audio Actions. Dragging Actions into the blank space beneath the list of Markers or in the space between Markers will create a new Marker at the position of the playhead in the Playback area with the respective Action applied.

Viewing Markers in the Transport Controls
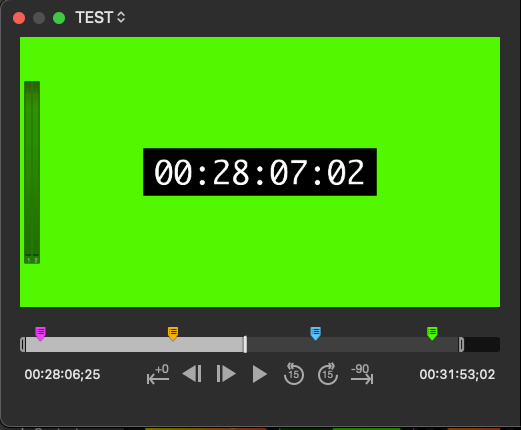
Once a video or an audio item has been triggered, its configured Playback Markers can be seen in the Transport Controls as smaller Marker icons in their respective colors. The Elapsed Time and Countdown to end times at either end of the Transport Controls scrub bar can be toggled to show the Time from Previous Marker and Time to Next Marker respectively. When toggled on, the time will also change to the color of the previous/next Marker. There is a new Marker icon shown in the Transport Controls for videos and audio. Clicking this icon will show the configured Markers with their respective colored icons, time codes, and names (if applicable). If you click on any of the Markers, the playhead will automatically jump to the timecode of the chosen Marker, and perform any actions assigned to the Marker (if applicable).
![]()
Playback Marker Data Links
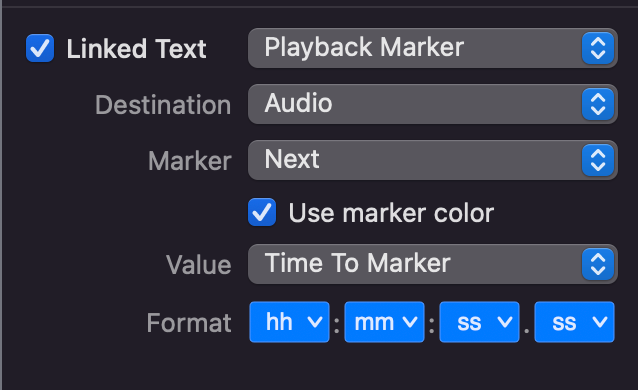
After adding Markers to your content, these can be viewed on your stage layouts as Countdown Objects. These can show the Time to Marker or the Marker Name. Playback Marker Data Links can be added by clicking the big "+" button to add Stage Layout Objects or from the Edit Menu on the Menu bar. You can also add a Text Object, then enable Linked Text and select Playback Marker.

Comments
0 comments
Article is closed for comments.