This is a five part series of articles covering the integration between Planning Center Online and ProPresenter 7. If you are still using ProPresenter 6, the majority of this information still applies, although the ProPresenter interface will be different.
- Connecting ProPresenter to Planning Center Services
- Planning Center Services Preferences
- Adding a Planning Center Plan to ProPresenter
- Converting a Planning Center Song Sequence Into a ProPresenter Arrangement
- Planning Center Live and Planning Center Timers
If you have been using Planning Center for a while, you are likely familiar with Planning Center Live. This feature of Planning Center allows you to run timers based on the elements of your service and keep everyone on schedule. We are able to have some interaction with Planning Center Live, although it is limited. Due to the limitations of our integration with Planning Center Live, it does not work or look exactly like Planning Center Live in the Planning Center app or on their website.
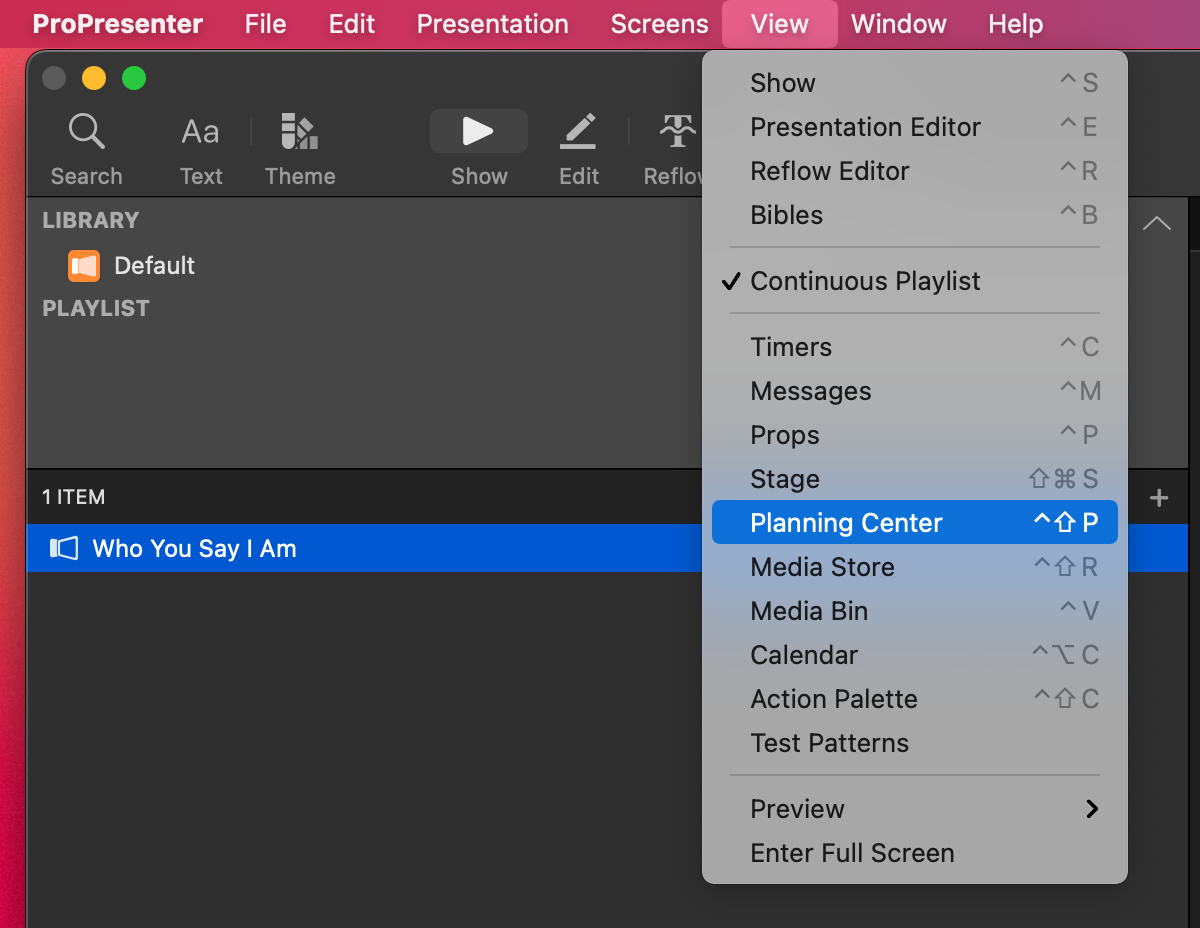
Before you can use the Planning Center Live features that are built into ProPresenter, you will need to be logged into your Planning Center account. Once you are logged in, click on the View menu in the toolbar and select Planning Center.
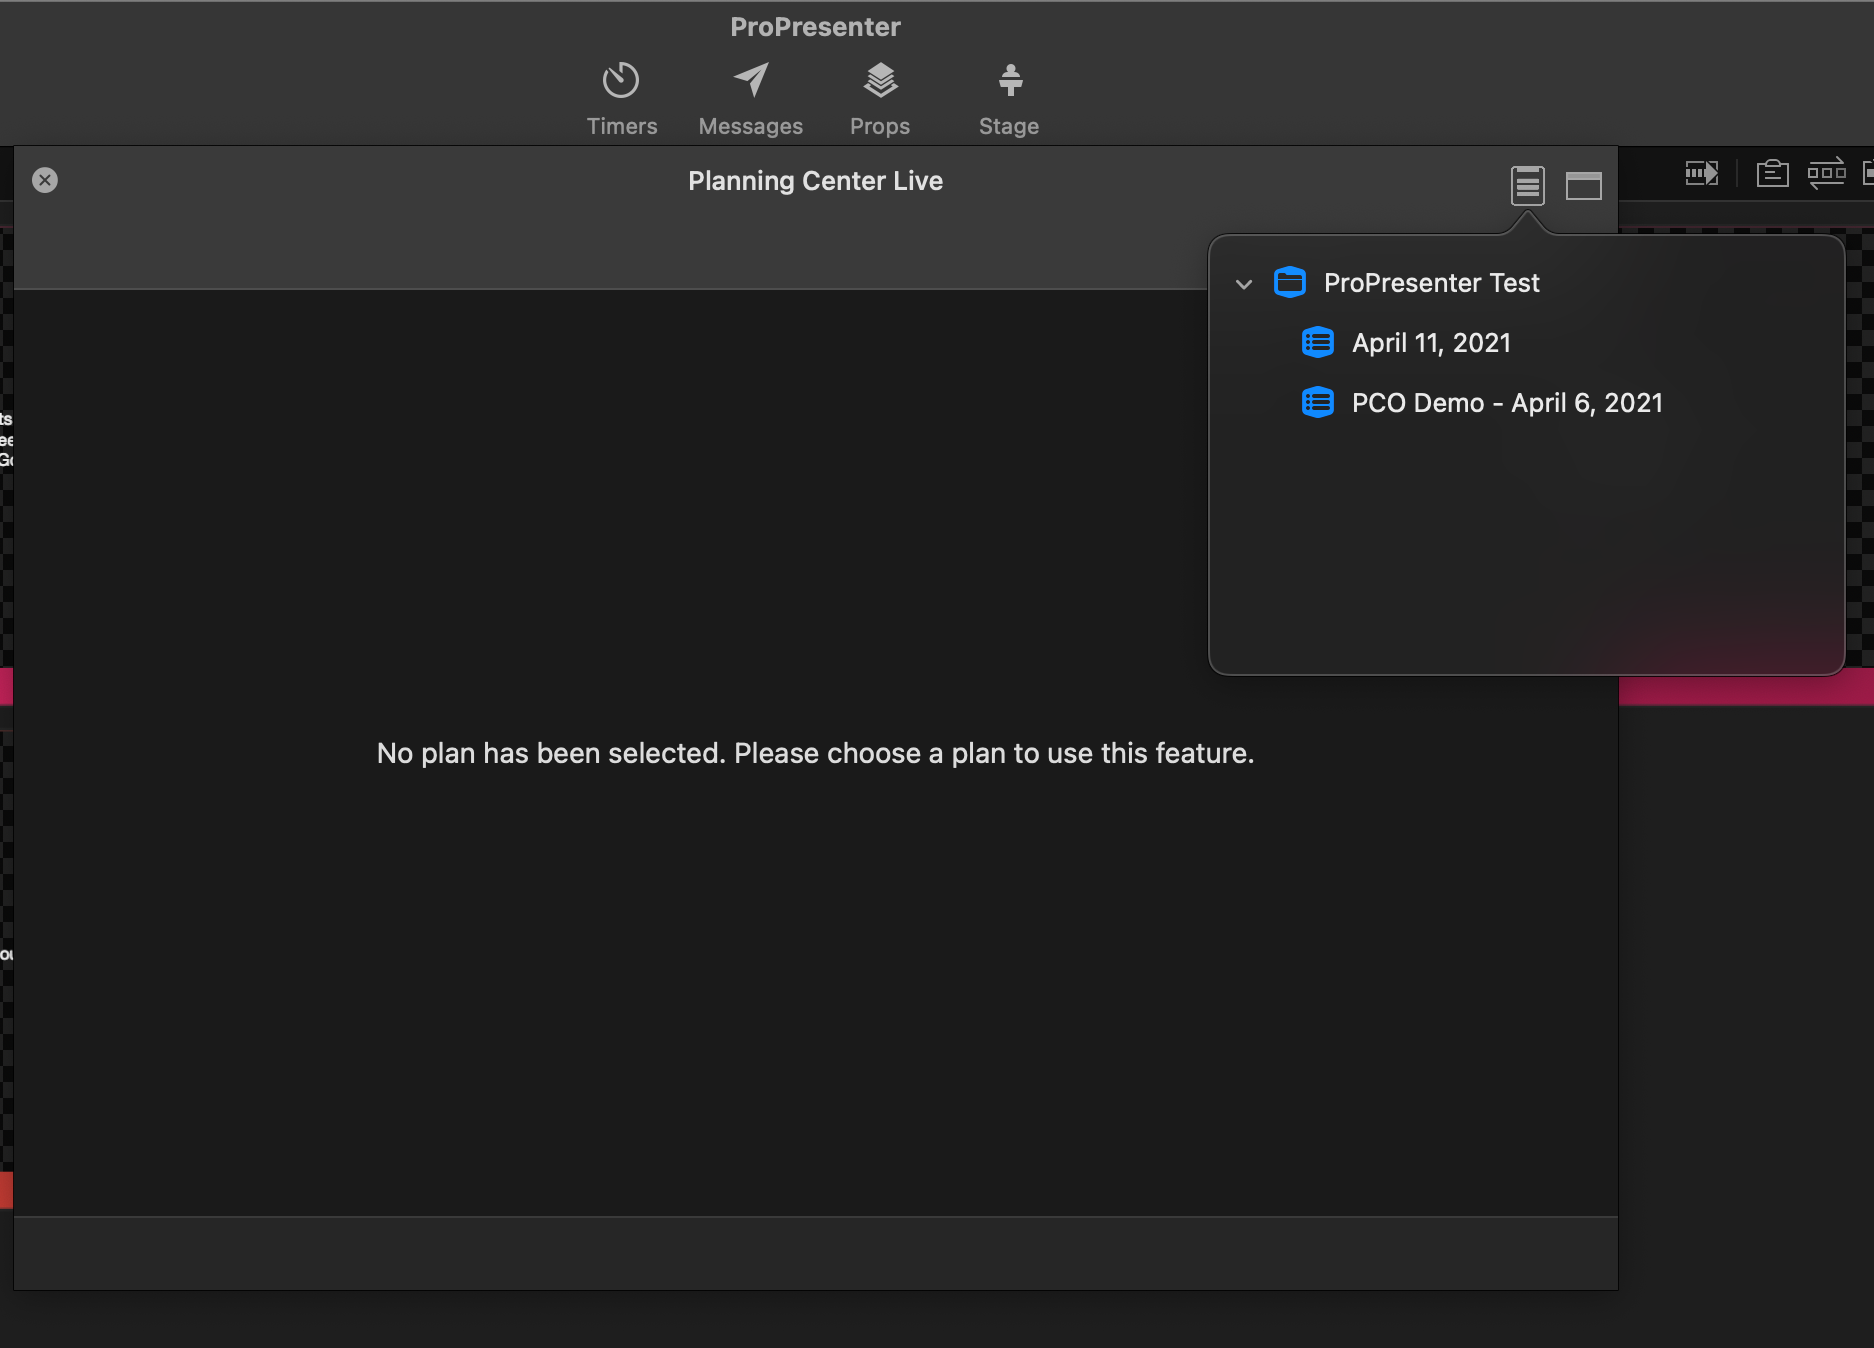
This will open a new window that will prompt you to select a plan the first time you open this. The selection method is the same here as it is when you are adding a Planning Center Service as a playlist. Navigate through the list of services until you find the one that you are running Planning Center Live with. We will be using the "PCO Demo - April 6, 2021" to demonstrate this feature.
You will need to return to this button to select the correct Planning Center Service each time you want to use this feature.
After you click on your service, the main window will load a view that is similar to what you see online with Planning Center Live. If you click the icon in the upper-right corner that looks like a browser window icon, it will switch this window to a floating window that you can resize. You can then click on the white handles on the gray dividing bars to resize the sections of the window.
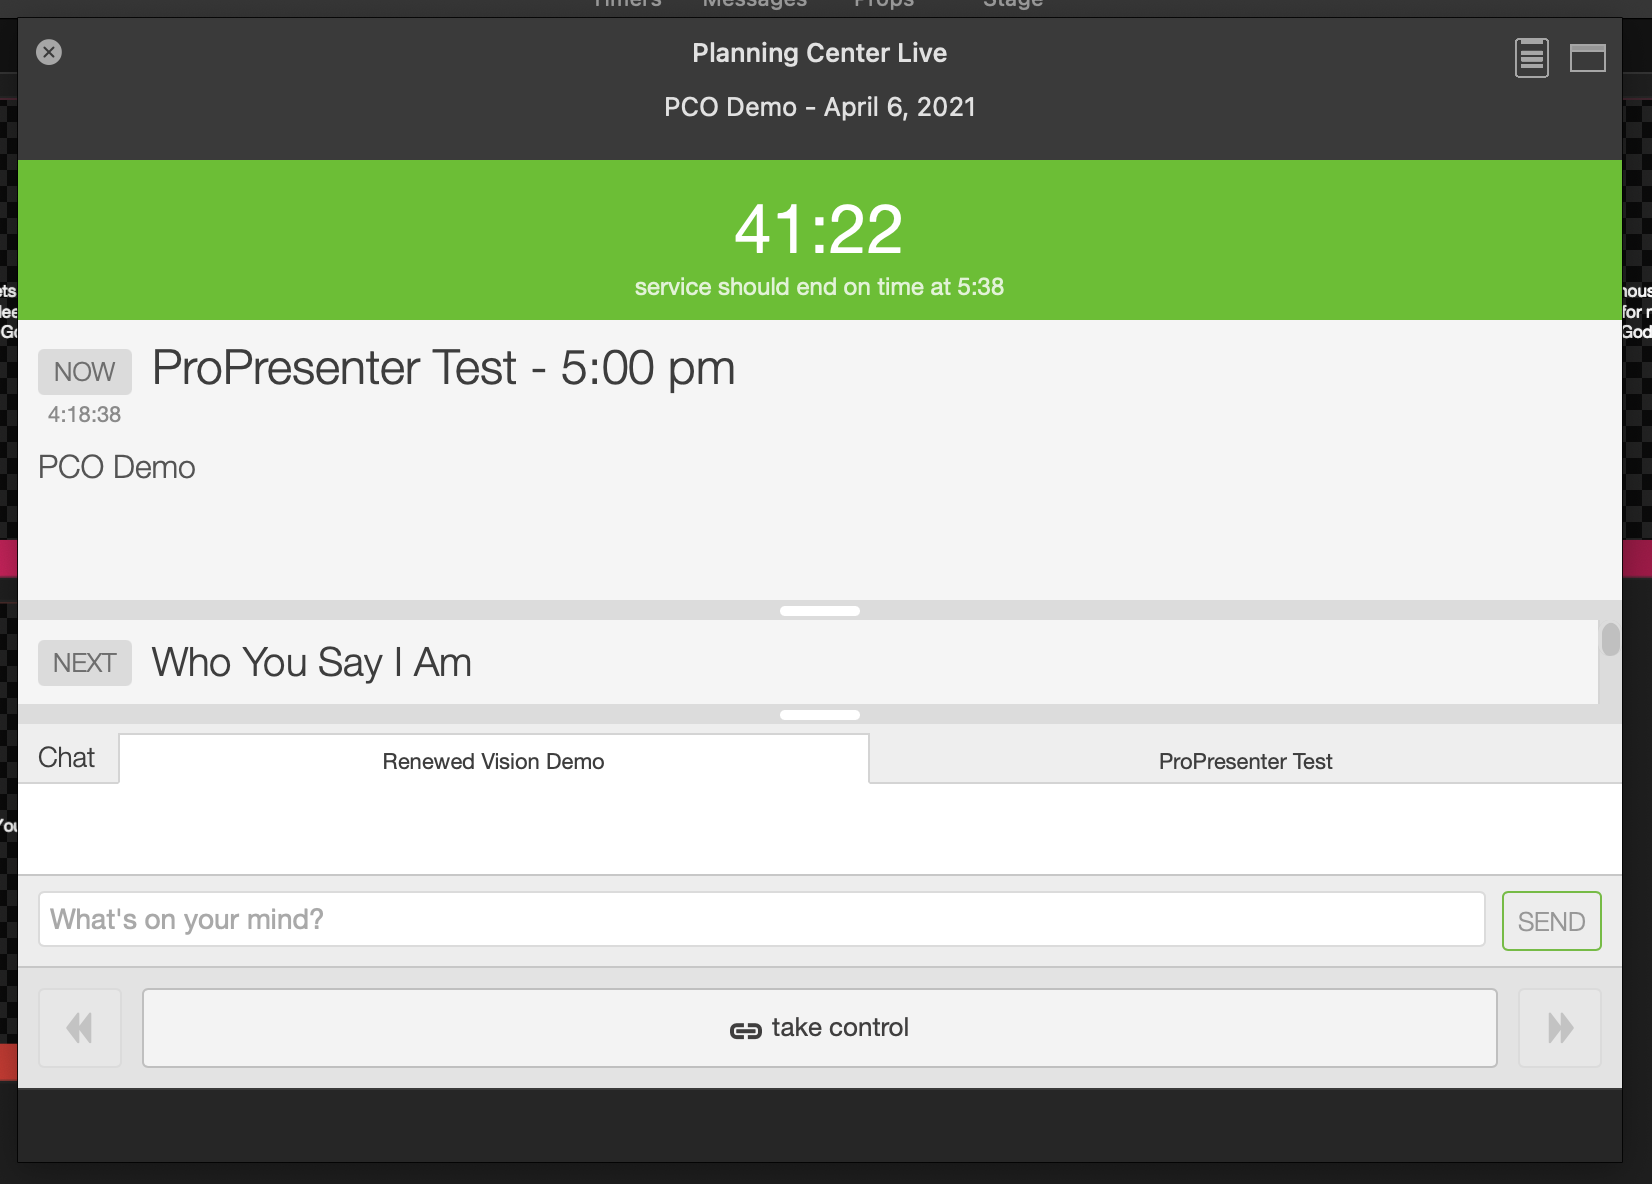
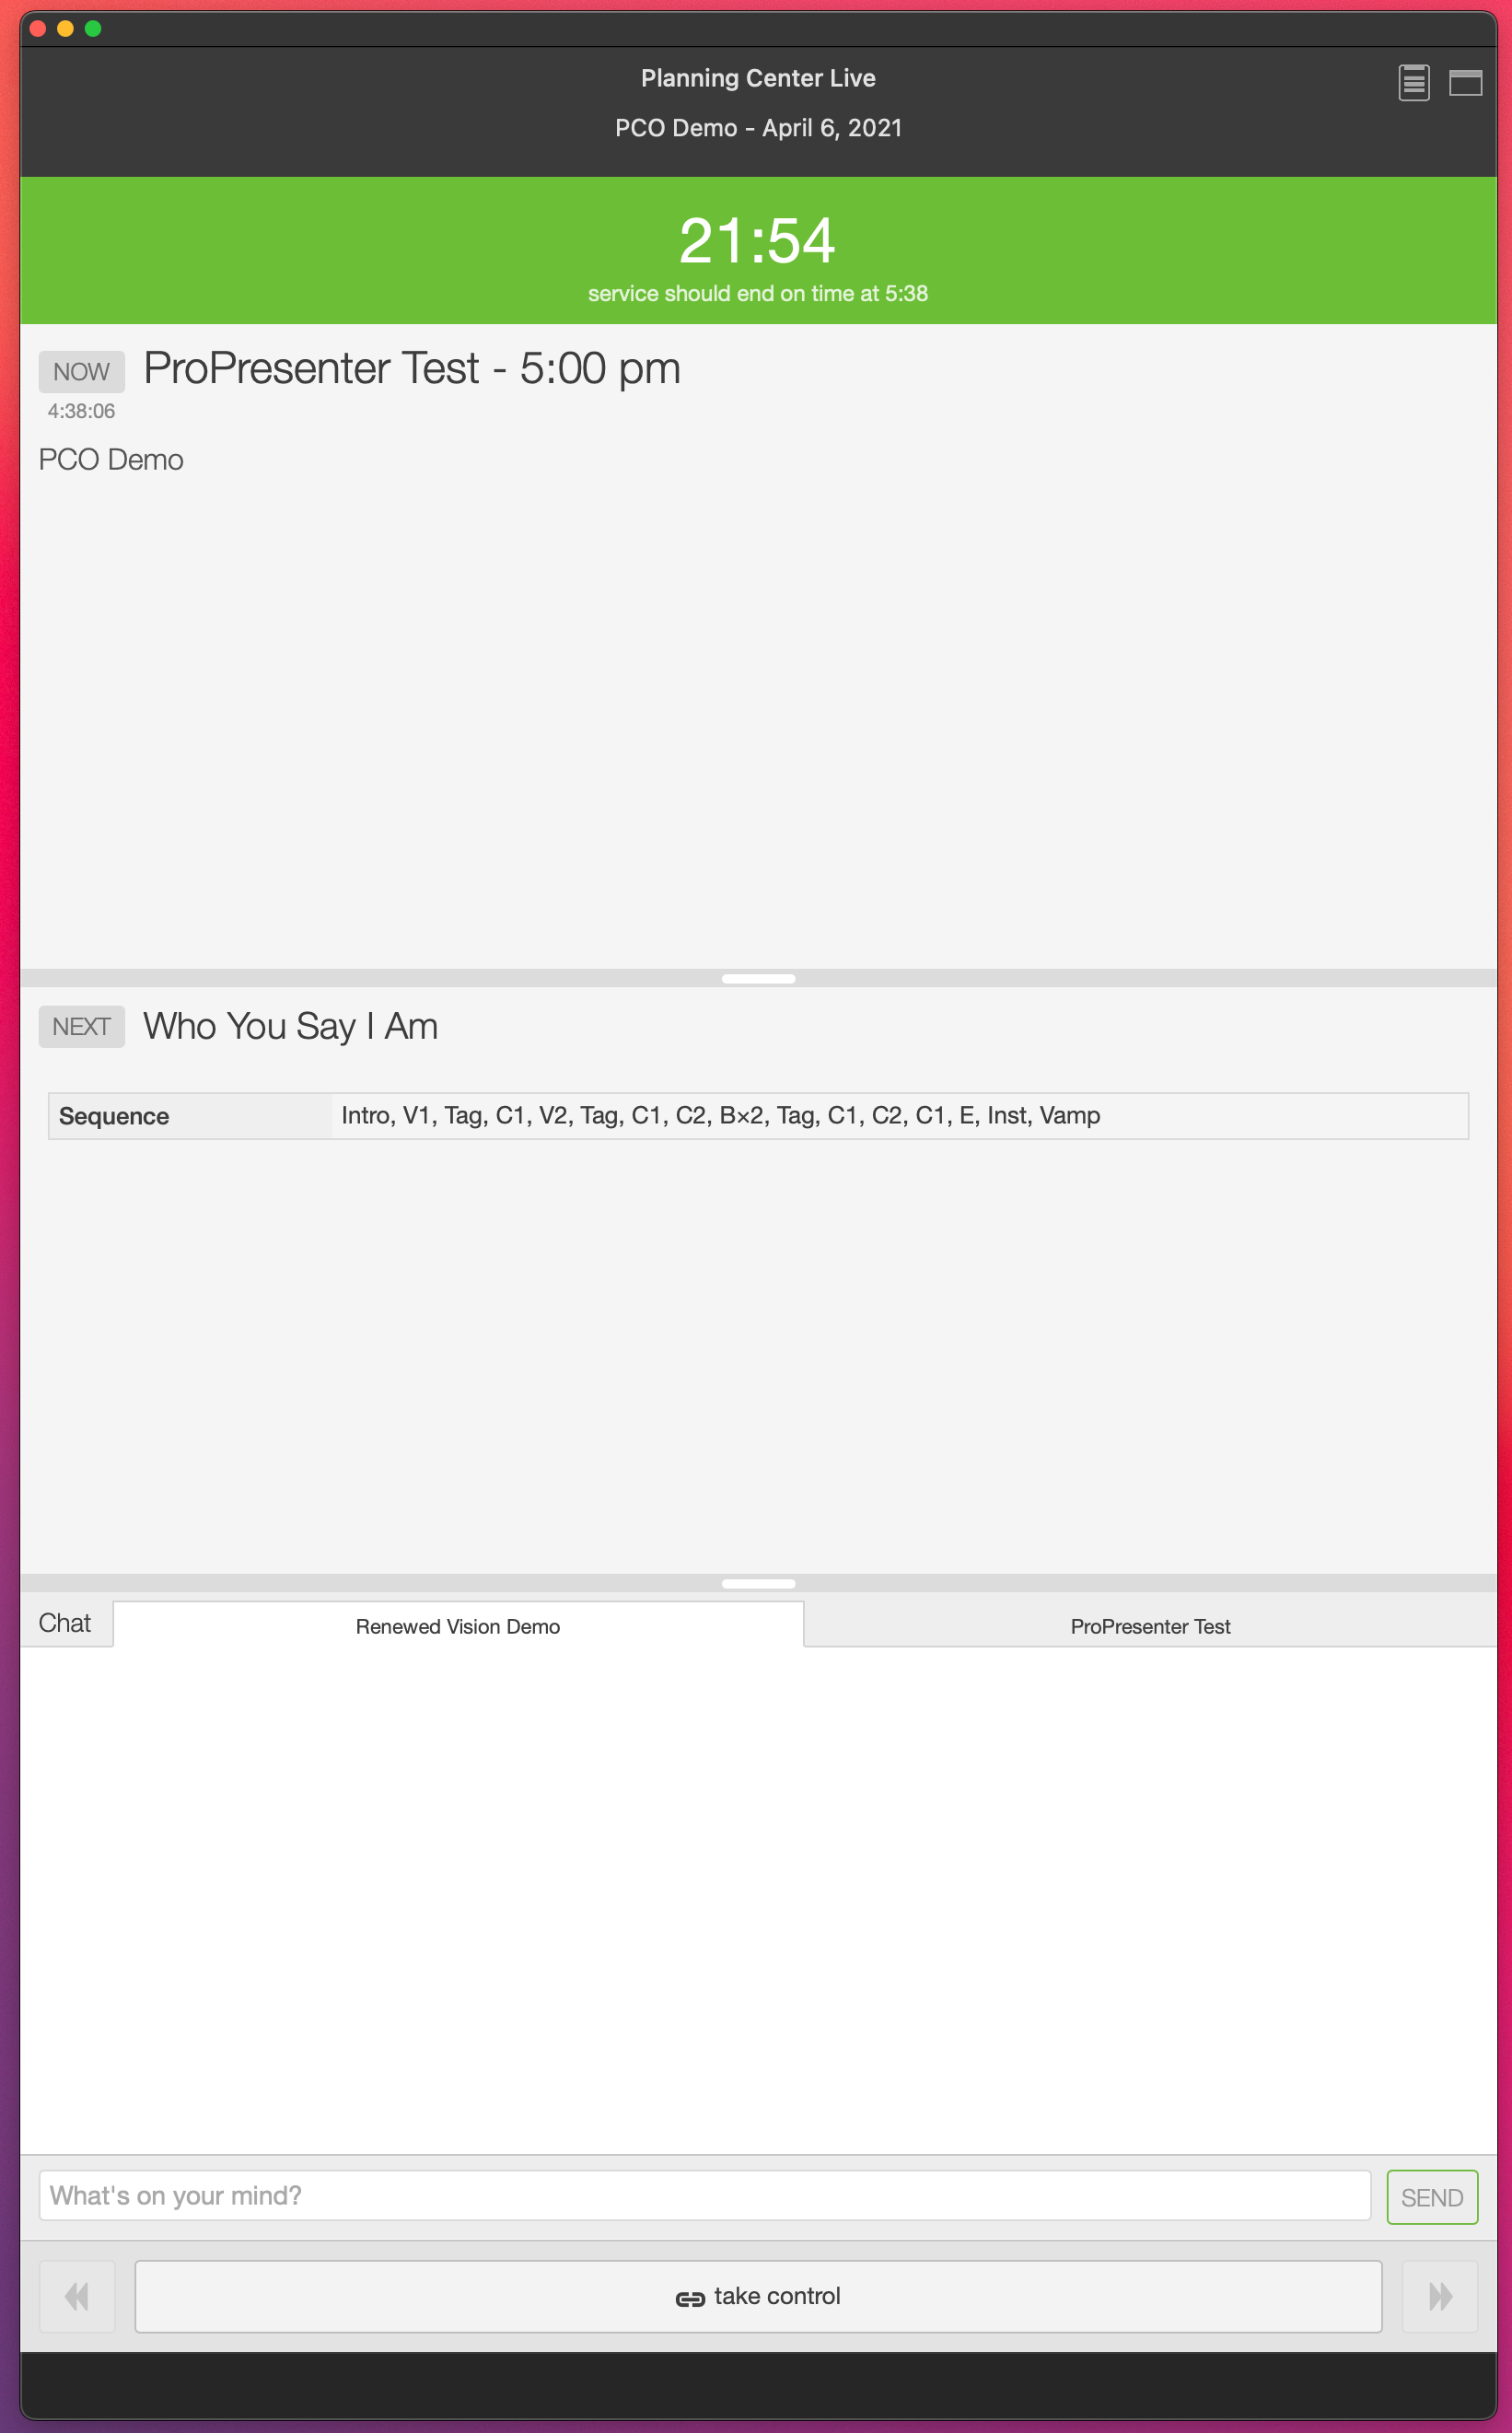
You won't be able to do anything from here until you click take control. This is linked to the logged in Planning Center account, so you will want to make sure the account you are signed into Planning Center with inside ProPresenter is able to take control of Planning Center Live. By default, this is Editor or higher, although you can grant permission to users with lower permission levels per Service Type.
When you click the take control button, the back and forward arrows will be activated so that you can advance items in your PCO Service Order. These buttons are not linked to items in your Planning Center Playlist in ProPresenter. Changes made the current item in PCO Live don't change what is currently running in ProPresenter, and advancing through your playlist in ProPresenter does not change what the current item is Planning Center PCO.
You can also interact with other Planning Center Live users in the Chat window.
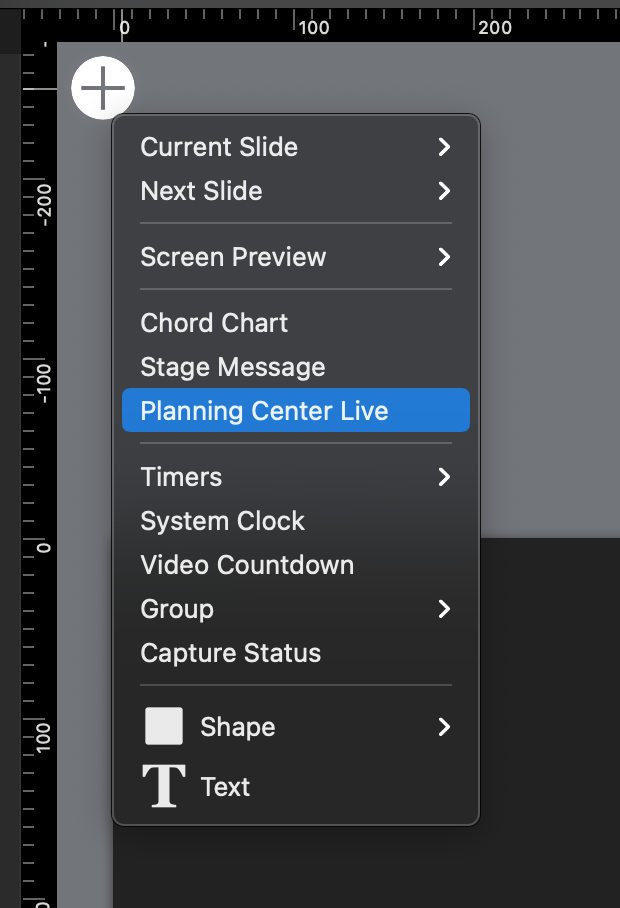
Once you have selected the service to use in Planning Center Live, you can enable the Planning Center Live timer on a Stage output in ProPresenter. Open the Stage Editor, click the ⊕ (plus mark button) and select Planning Center Live. This will add a new object to your slide that you can resize and place anywhere on your layout.
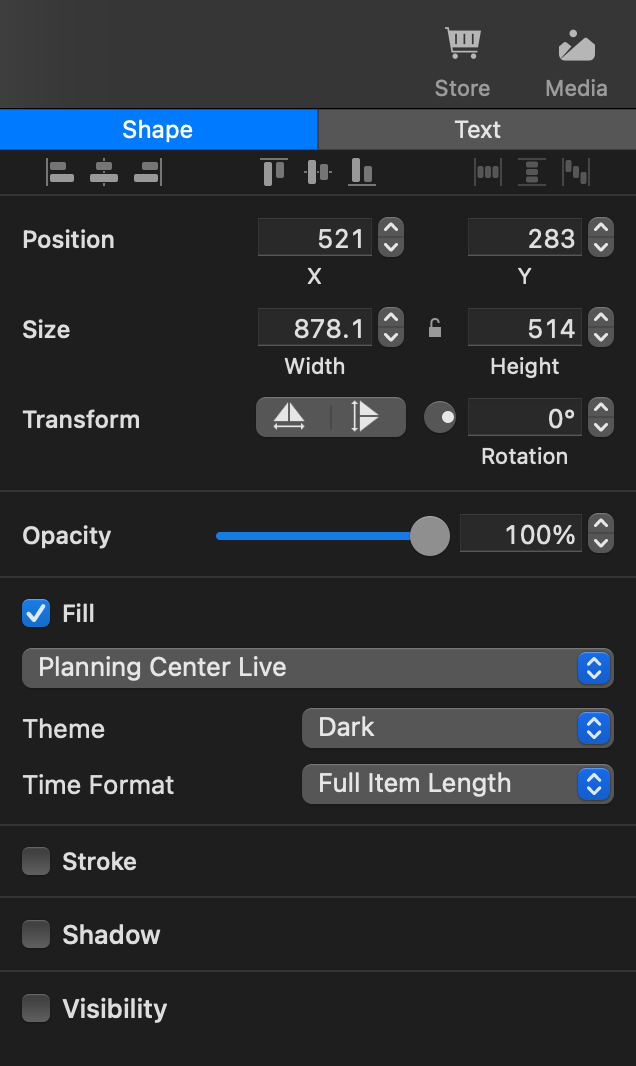
Once the object has been placed on your layout, you will see some new options appear on the right. You can select a Dark or Light Theme for how the countdown will appear. You can also choose which Time Format you want to use. By default, Full Item Length is selected. This shows a timer based on how long the item is scheduled in your Service Order with no regard to the actual time in the service. The second option is End Item on Time. This will dynamically change to adjust for being on time, ahead of time, or behind time in your service. The third option is End Service on Time. This is similar to the second option, but adjusts the current item time so that none of the remaining times are affected while still ending your service on time. You can add multiple items to your Stage layout if you want to show multiple timers.
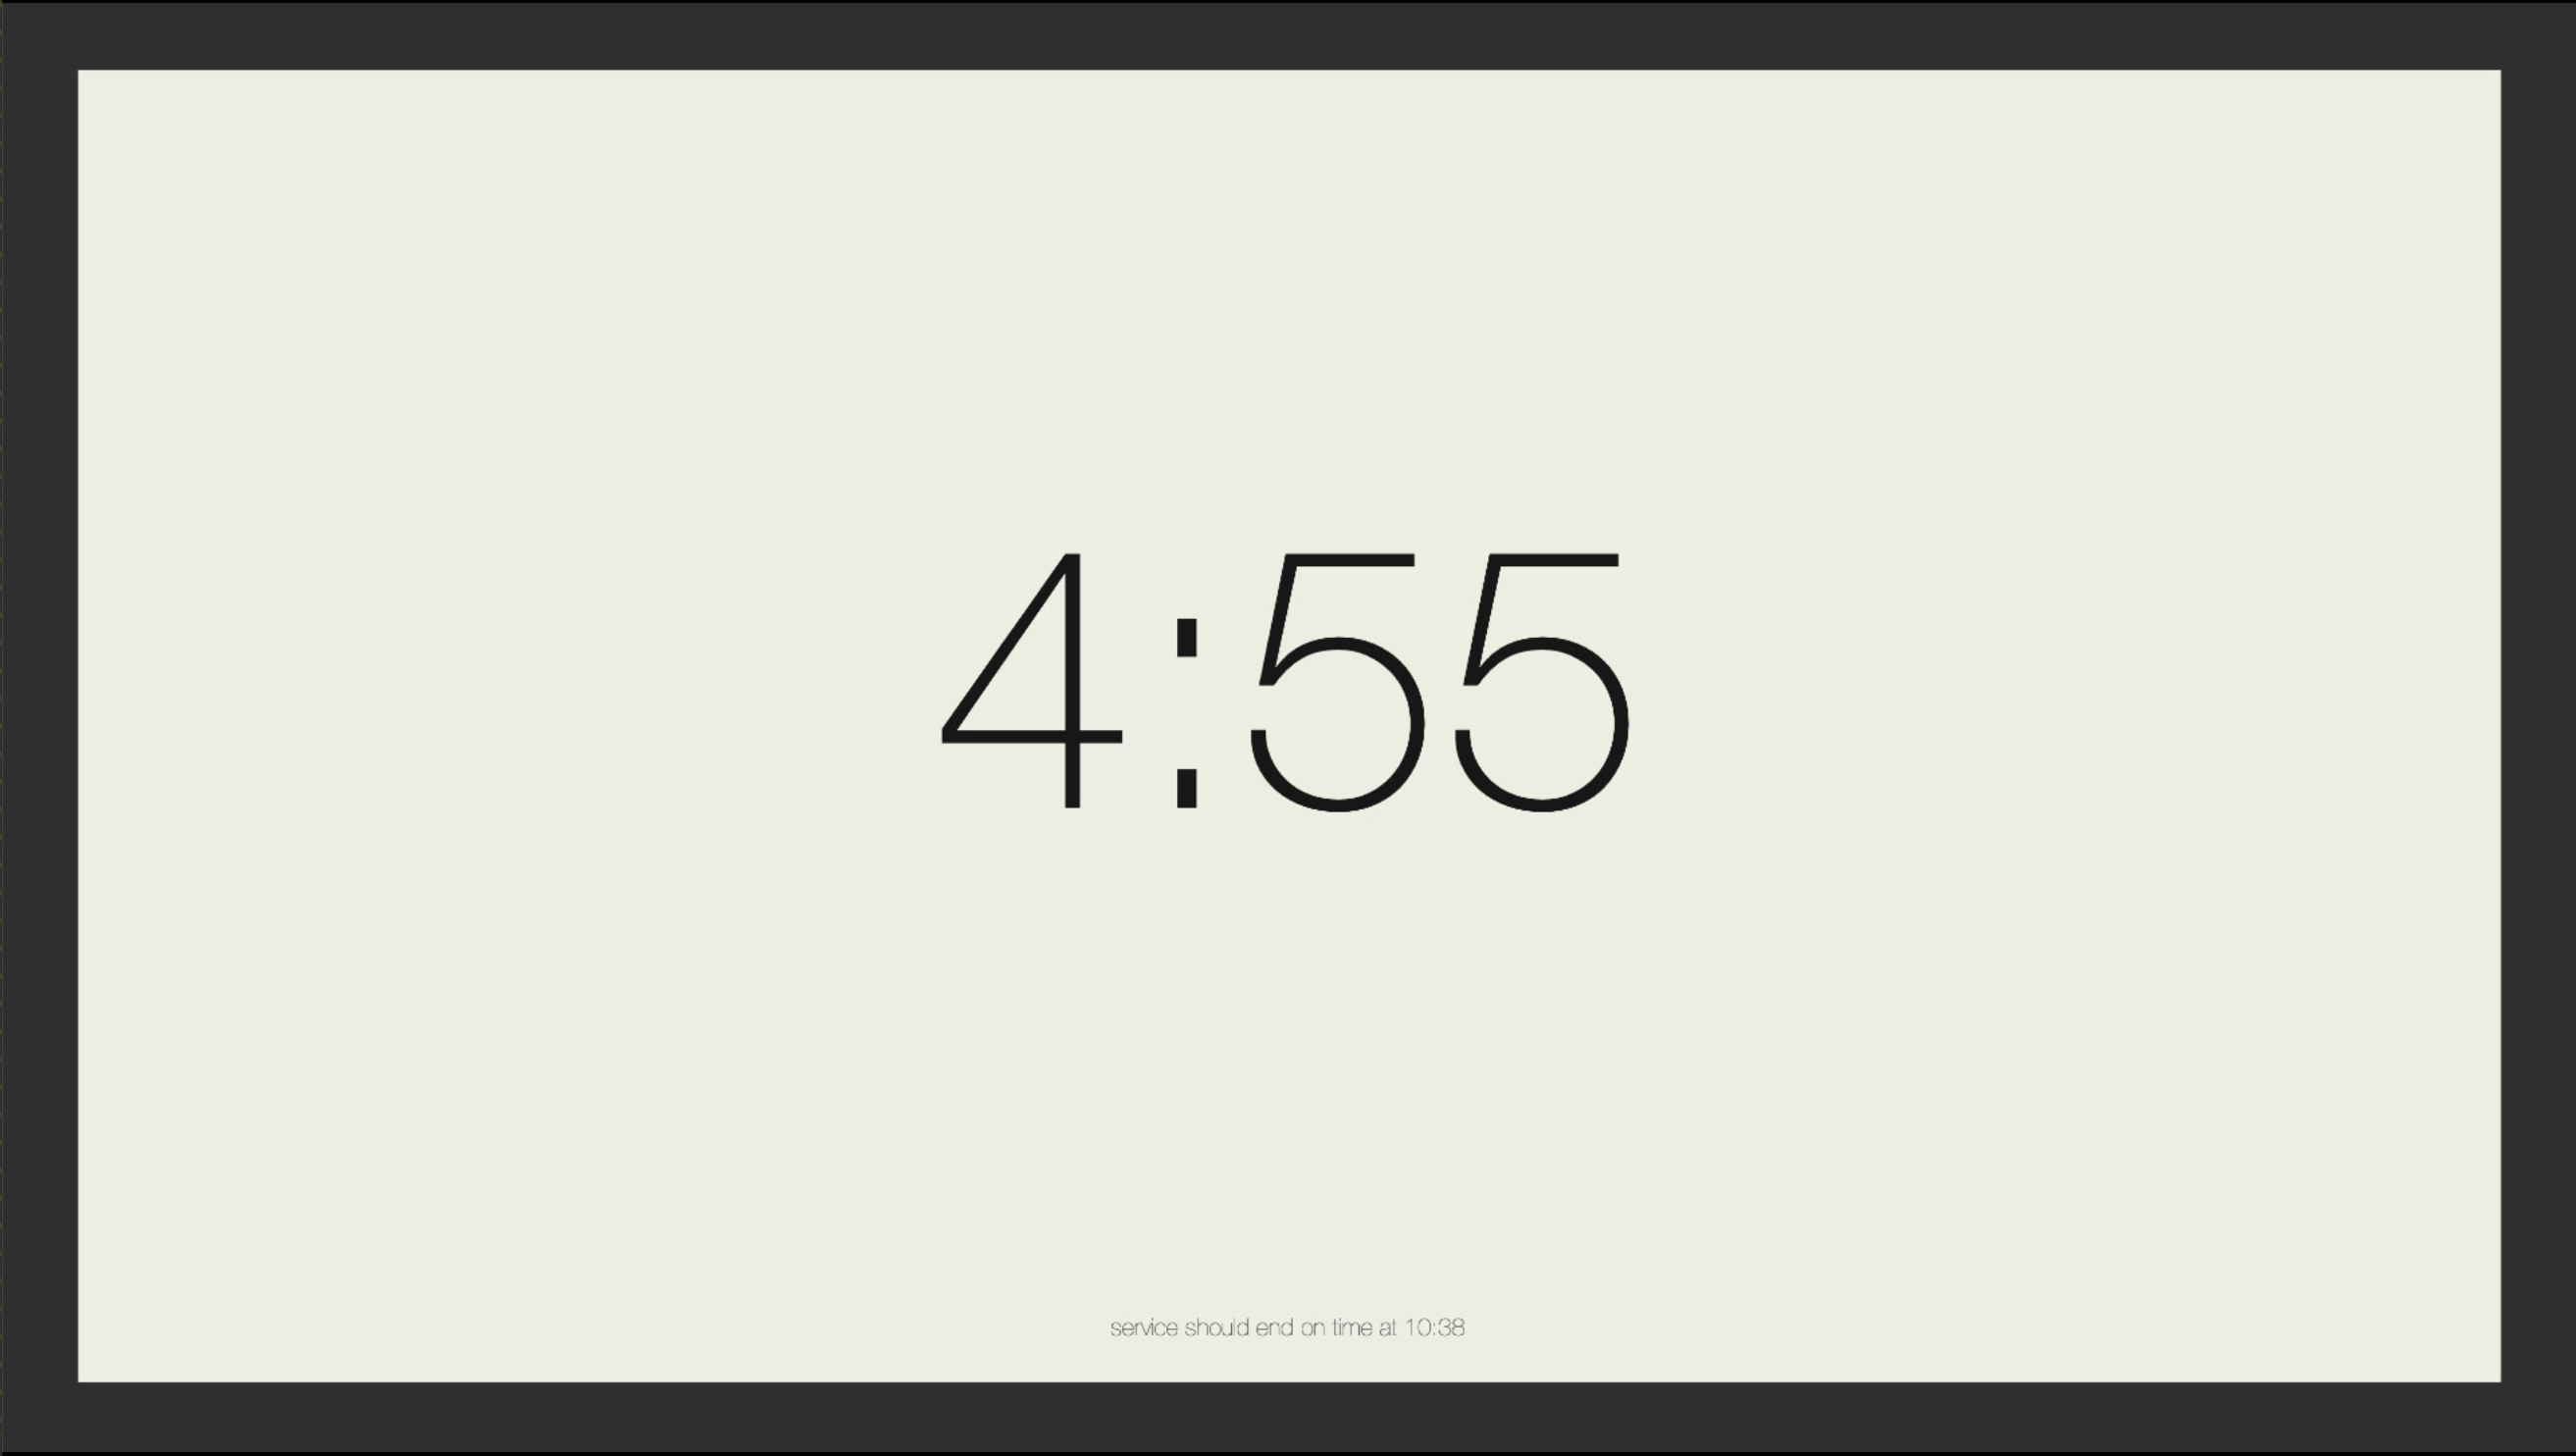
Due to how this timer is made available to us, there are no additional options for adjusting the size of the countdown or text shown. As you can see, there is a lot of blank space around the timer and the text at the bottom that says the "service should end on time" is really small. Including this timer on a stage layout that is used for a service producer or video director would probably be more helpful than putting it on the stage layout for your band unless you can dedicate a layout to be a full screen view of this timer, like shown below. This timer is based on the Planning Center Live Service that is selected in the window shown earlier in this guide. If you have issues with the timer, you may need to log out of Planning Center, restart, and log back in to refresh your connection to Planning Center.
Comments
0 comments
Article is closed for comments.